
As discussed in the previous chapter “An Introduction to Image SEO”, optimizing the images you publish on your WordPress site can help gain visibility in Google Image Search, but it also contributes to ranking for keywords in classic Google Web Search.
Some good news first, WordPress is a good tool for image SEO because it can create responsive versions of images for mobile devices. This helps improve page speed by serving small images to users while still enabling Google to find high quality images for indexing.
However, to fully optimize images for SEO there are other things you need to do. In this article we will take you through a step-by-step guide to optimizing an image as it is loaded into a WordPress post.
Start with a unique image and a keyword
The best starting point for Image SEO is to have a unique image that does not already exist on the web. Before loading the image into WordPress, think about where the image will be used and what keyword it will be targeting. For best results, the image will need to be inserted in a page or post that is optimized for that keyword.
In this example we are going to imagine that you have taken the photograph below and it will be used as the main image for a blog post you are writing entitled, “The complete guide to VW Beetle roof racks”. The keyword you are targeting is “VW Beetle roof rack” which is searched on average 720 times per month in Google worldwide. Using the keyword in the title and text of the post is important for ranking the images in Google Images.
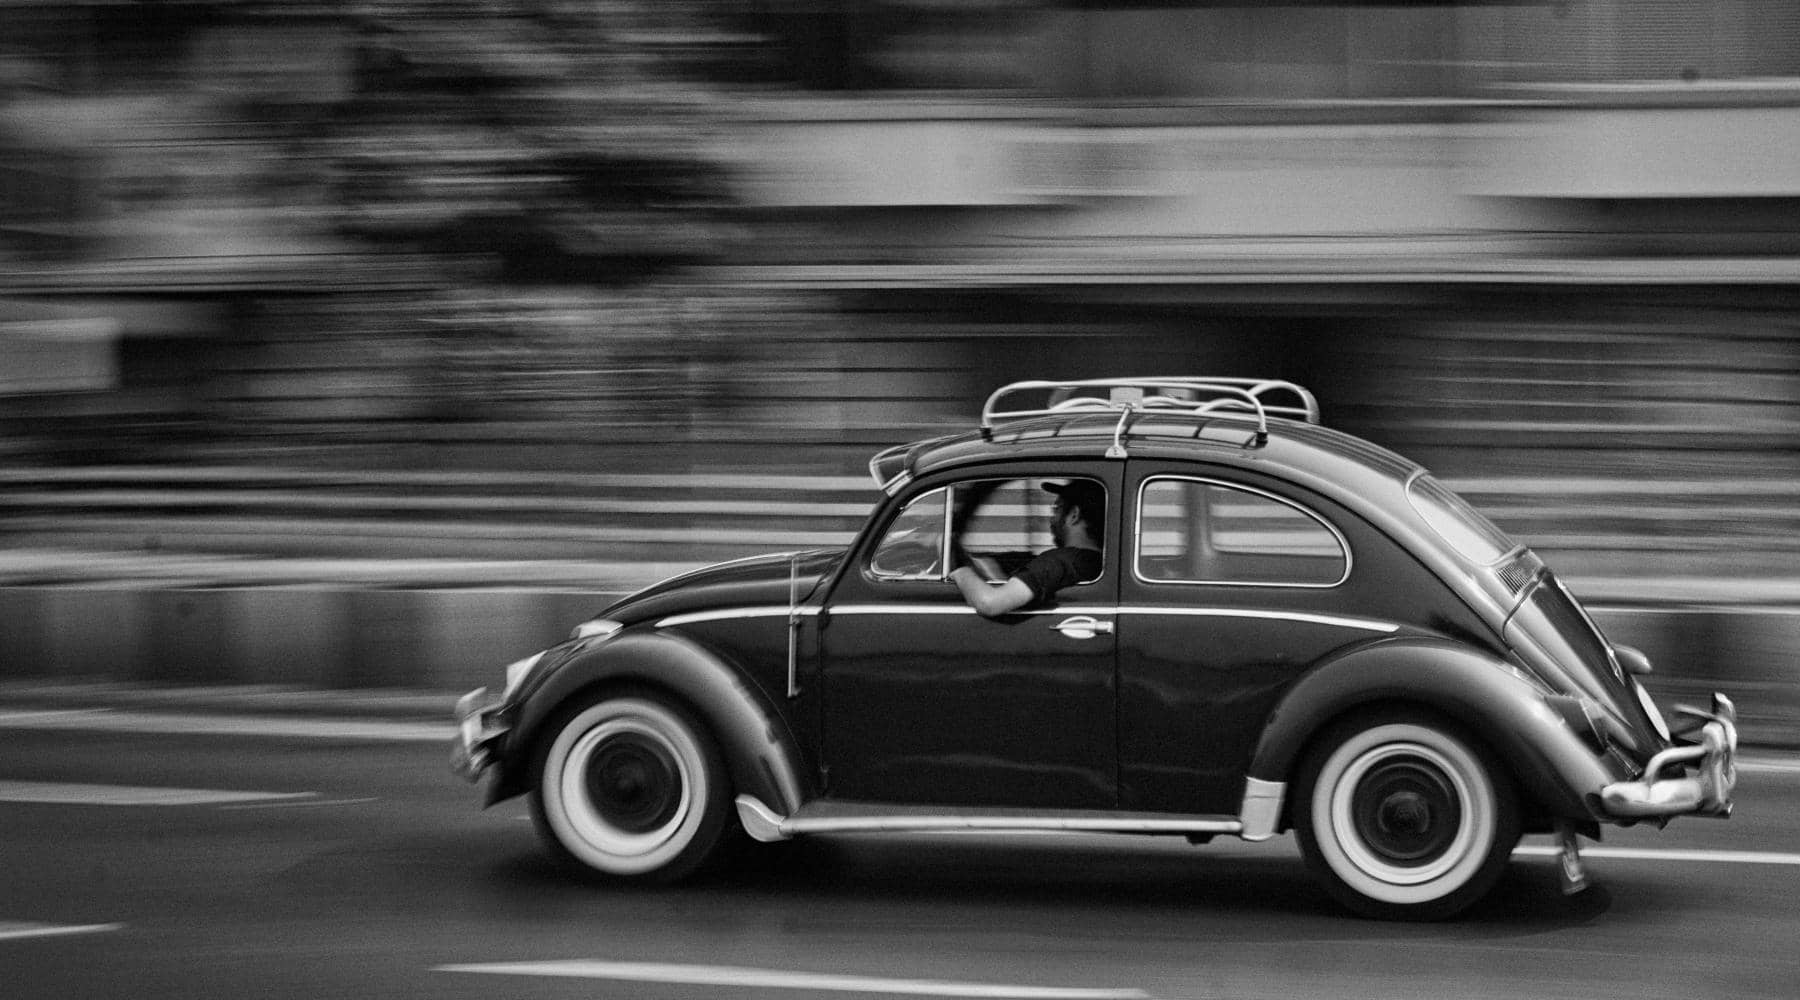
To be honest, and to give credit where it is due, we didn’t use a unique image in our example. This photo was taken by Matthias Meyer and is available on UnSplash.
Prepare the image for SEO
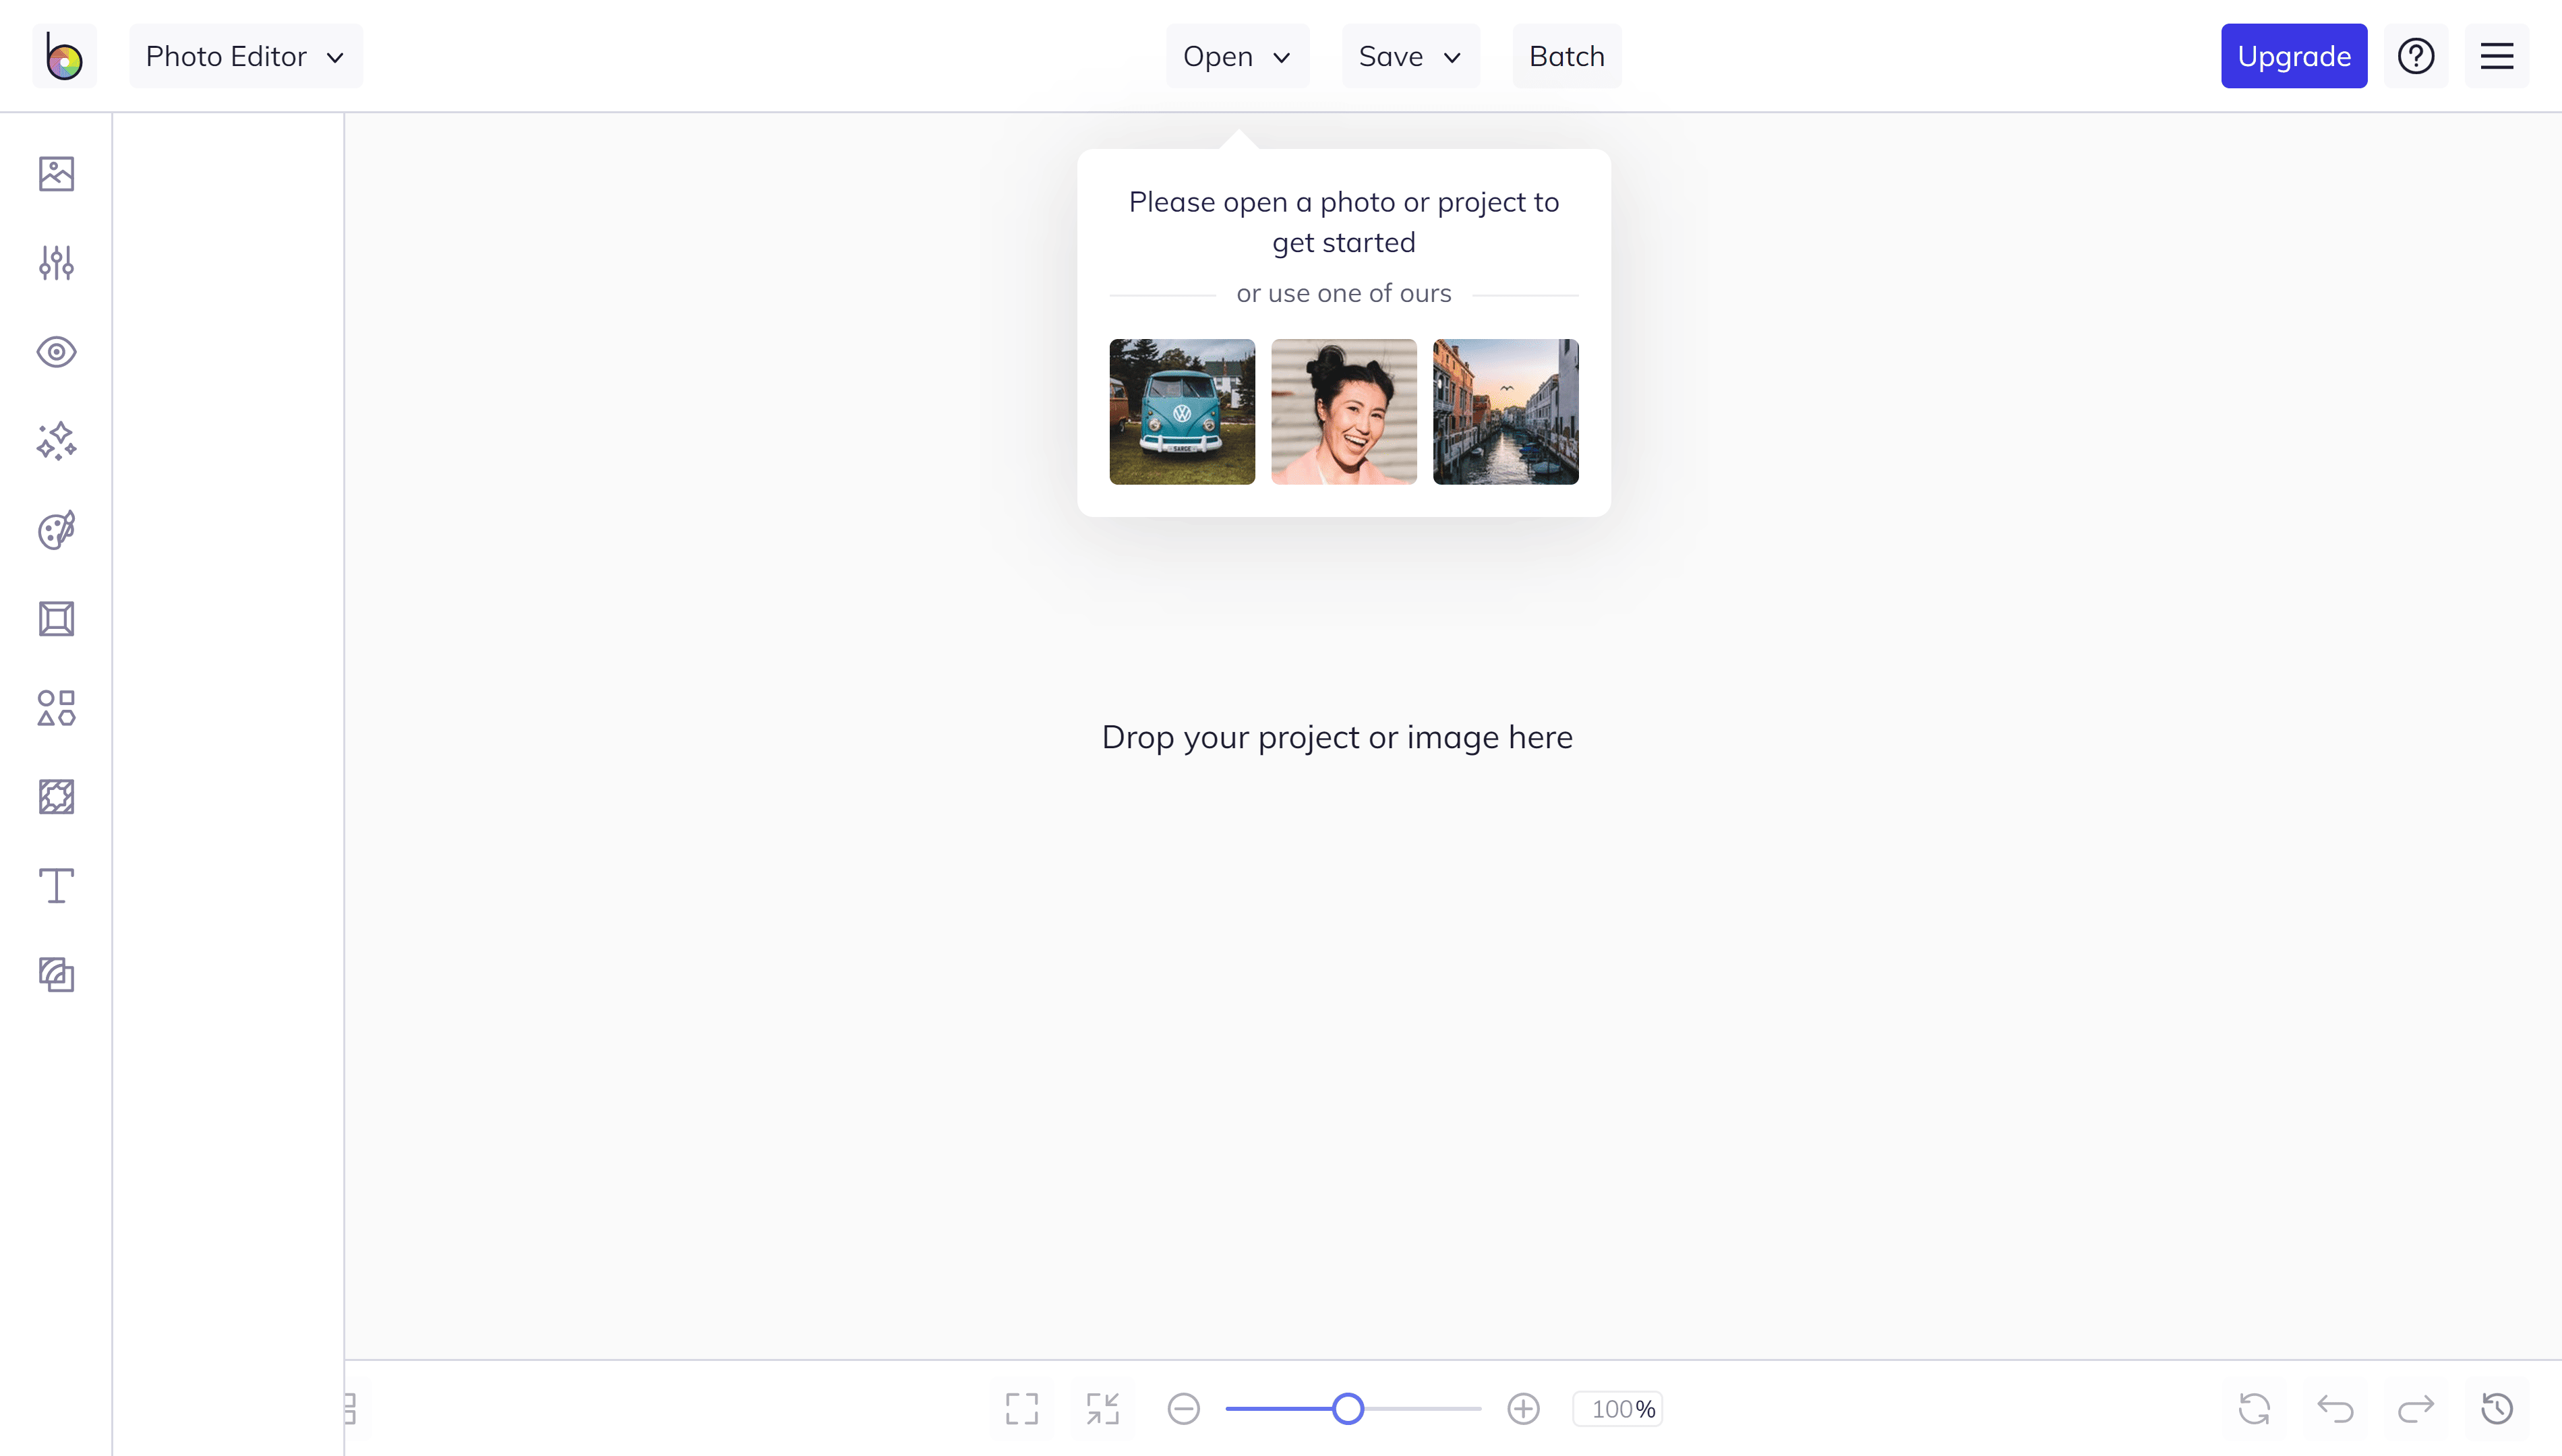
You can gain an advantage in image SEO by preparing images before you load them into WordPress. The main jobs to do are to resize, compress and rename the image file. You can do this using dedicated image manipulation software like Adobe Lightroom or free photo applications like BeFunky.
With BeFunky you can open a photo from your computer and edit it online.
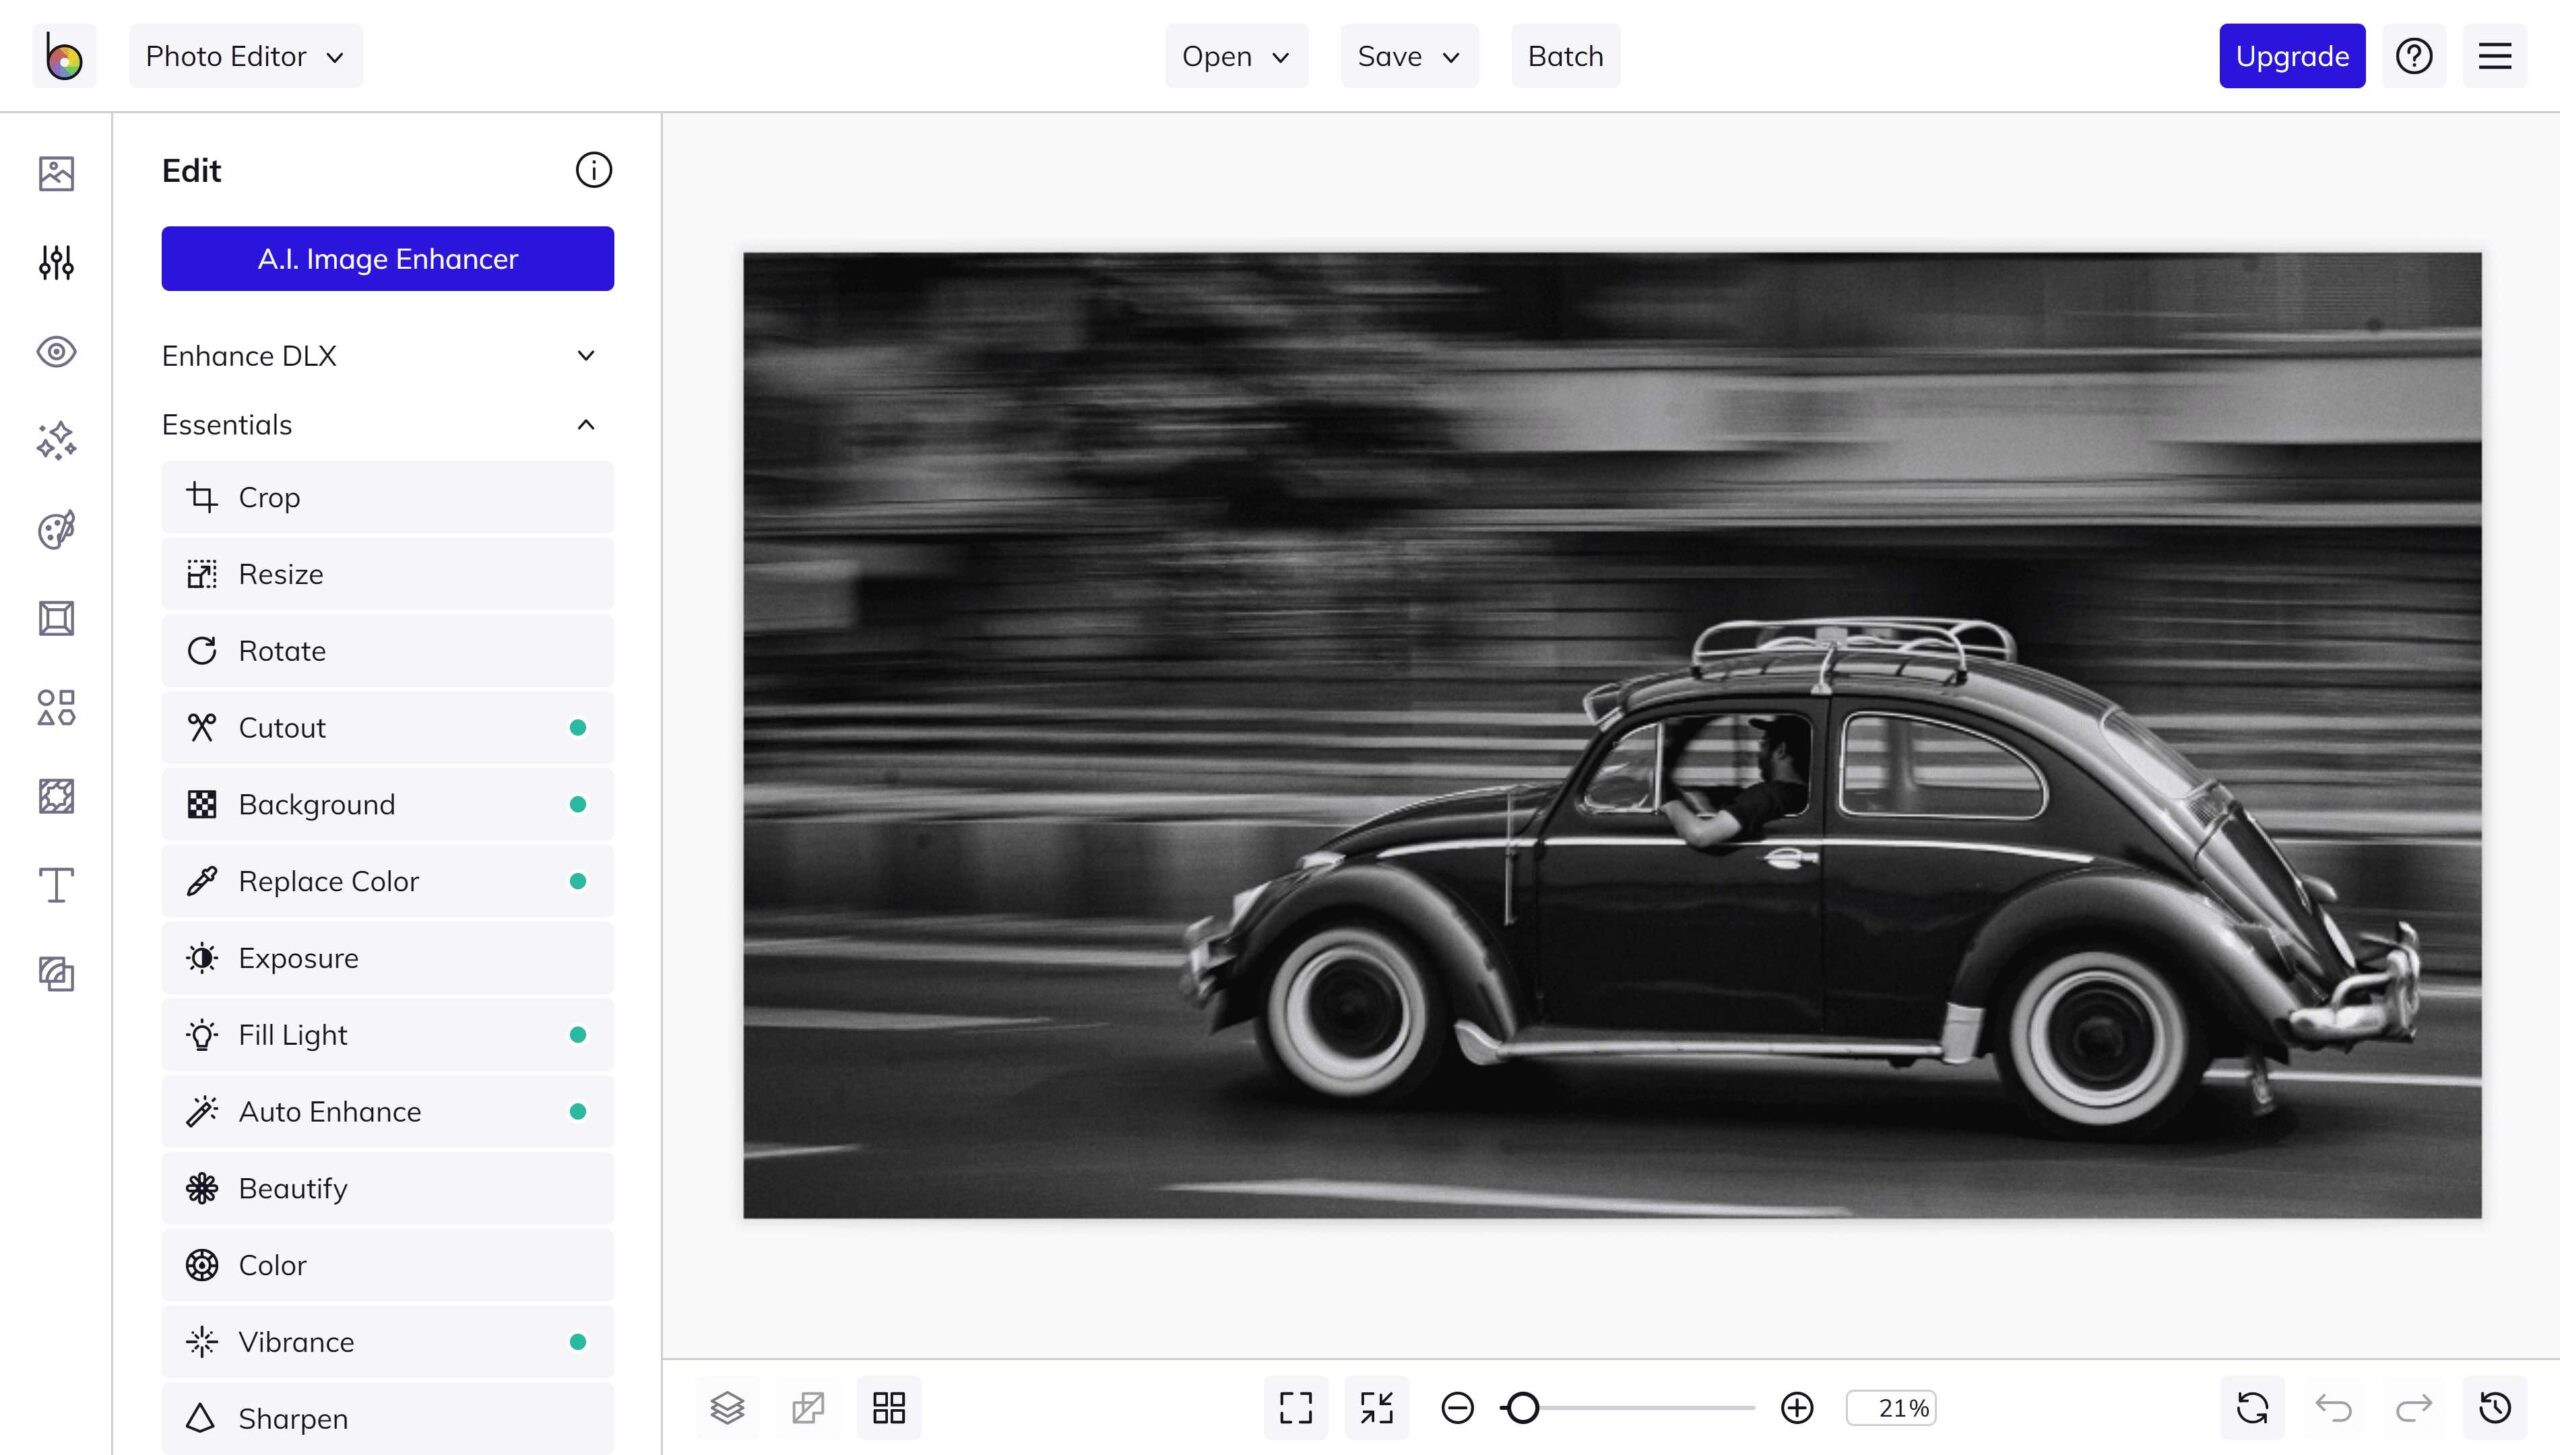
Once you open your file in a photo-editing application, go to resize to check the size of the images in pixels. The original size of this photo is 4088 x 2270 pixels. and most computer monitors simply don’t have this many pixels. Unless you are convinced that your audience uses high resolution 4K / 5K monitors to surf the web, you should resize this image before loading it into WordPress, but not too much.
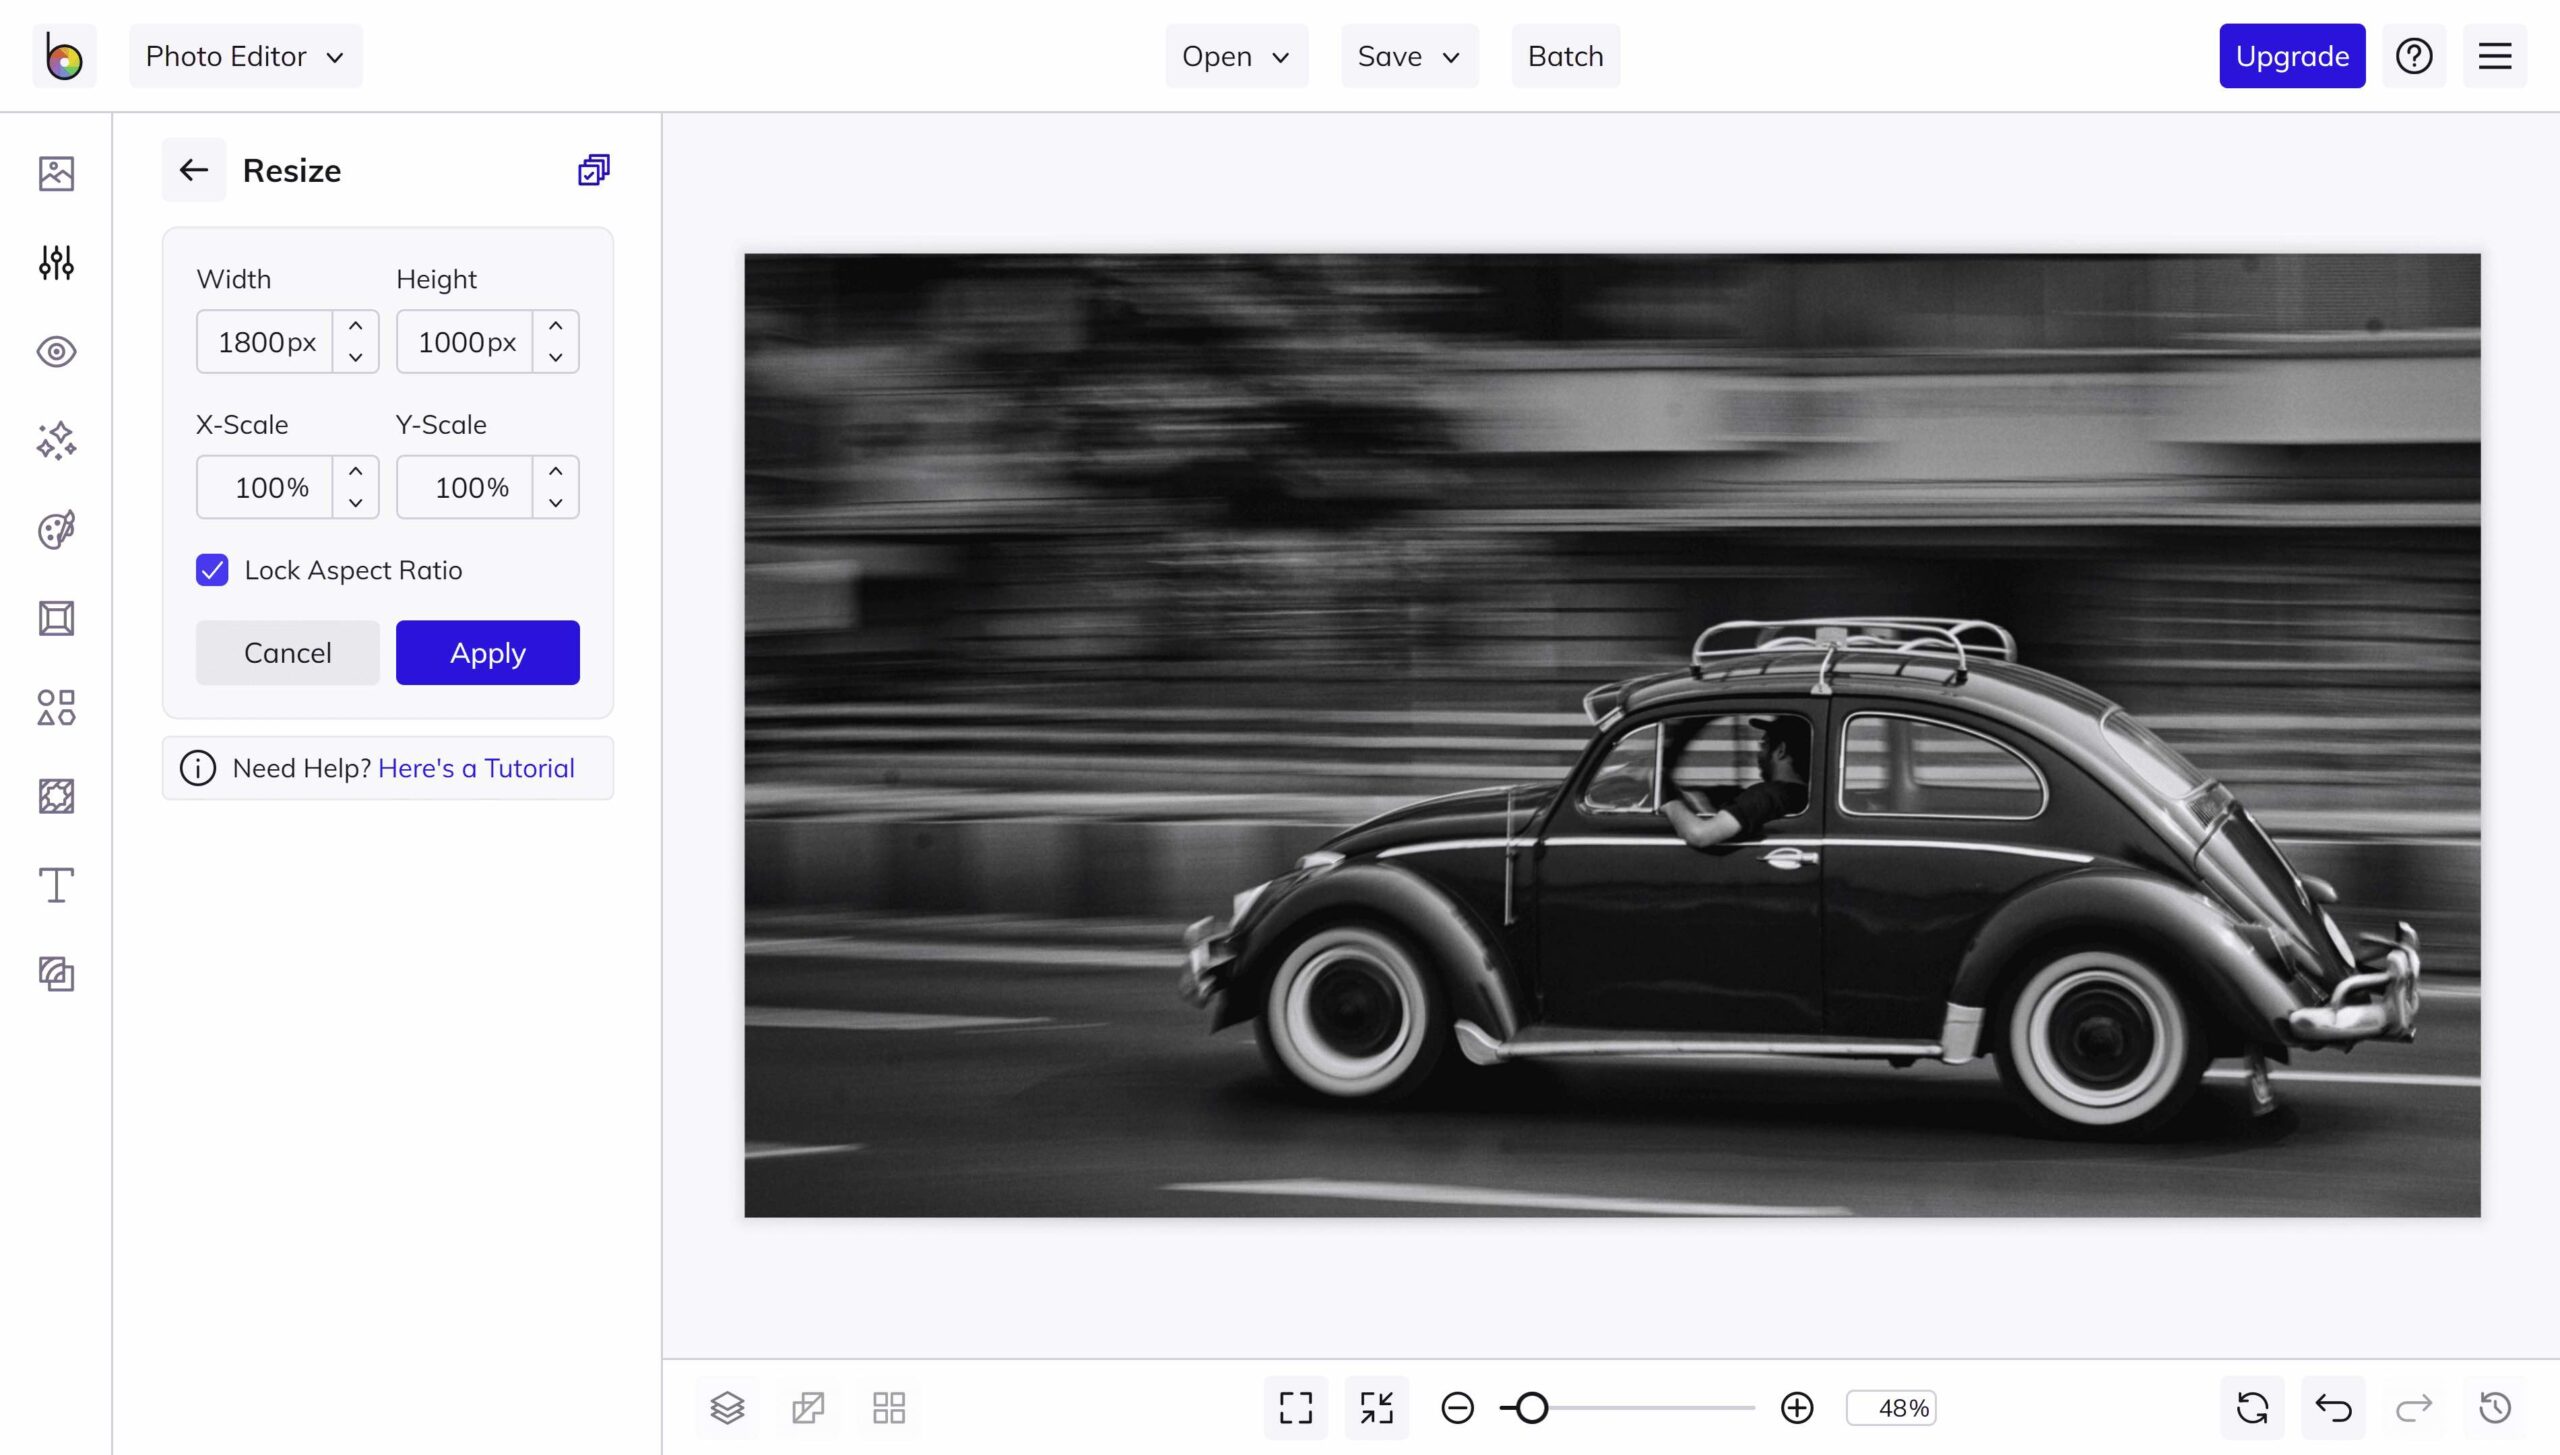
Google prefers to create previews from high quality images. We recommend following Google’s guide to images for Google Discover which is that images need to be at least 1200 pixels wide. A width of 1024 pixels would be too small for this image.
In the example below, we modify the Width to 1800 pixels and with the option Lock Aspect Ratio set, the Height is automatically calculated as 1000 pixels.
Once the image is resized, you can save it back to your computer.
An important tip now is not to overwrite the file using the filename. First, this allows you to keep the higher quality original for use for other projects later. You may want to use this photo for printed brochures, and you will need all the pixels for that.
The second important reason to change the filename now is to make sure that it contains the keyword you are targeting. As this is the main image for the page we are optimizing, we can name the file using the exact keyword “VW Beetle roof racks”. This will create a filename “VW Beetle roof racks.jpg”
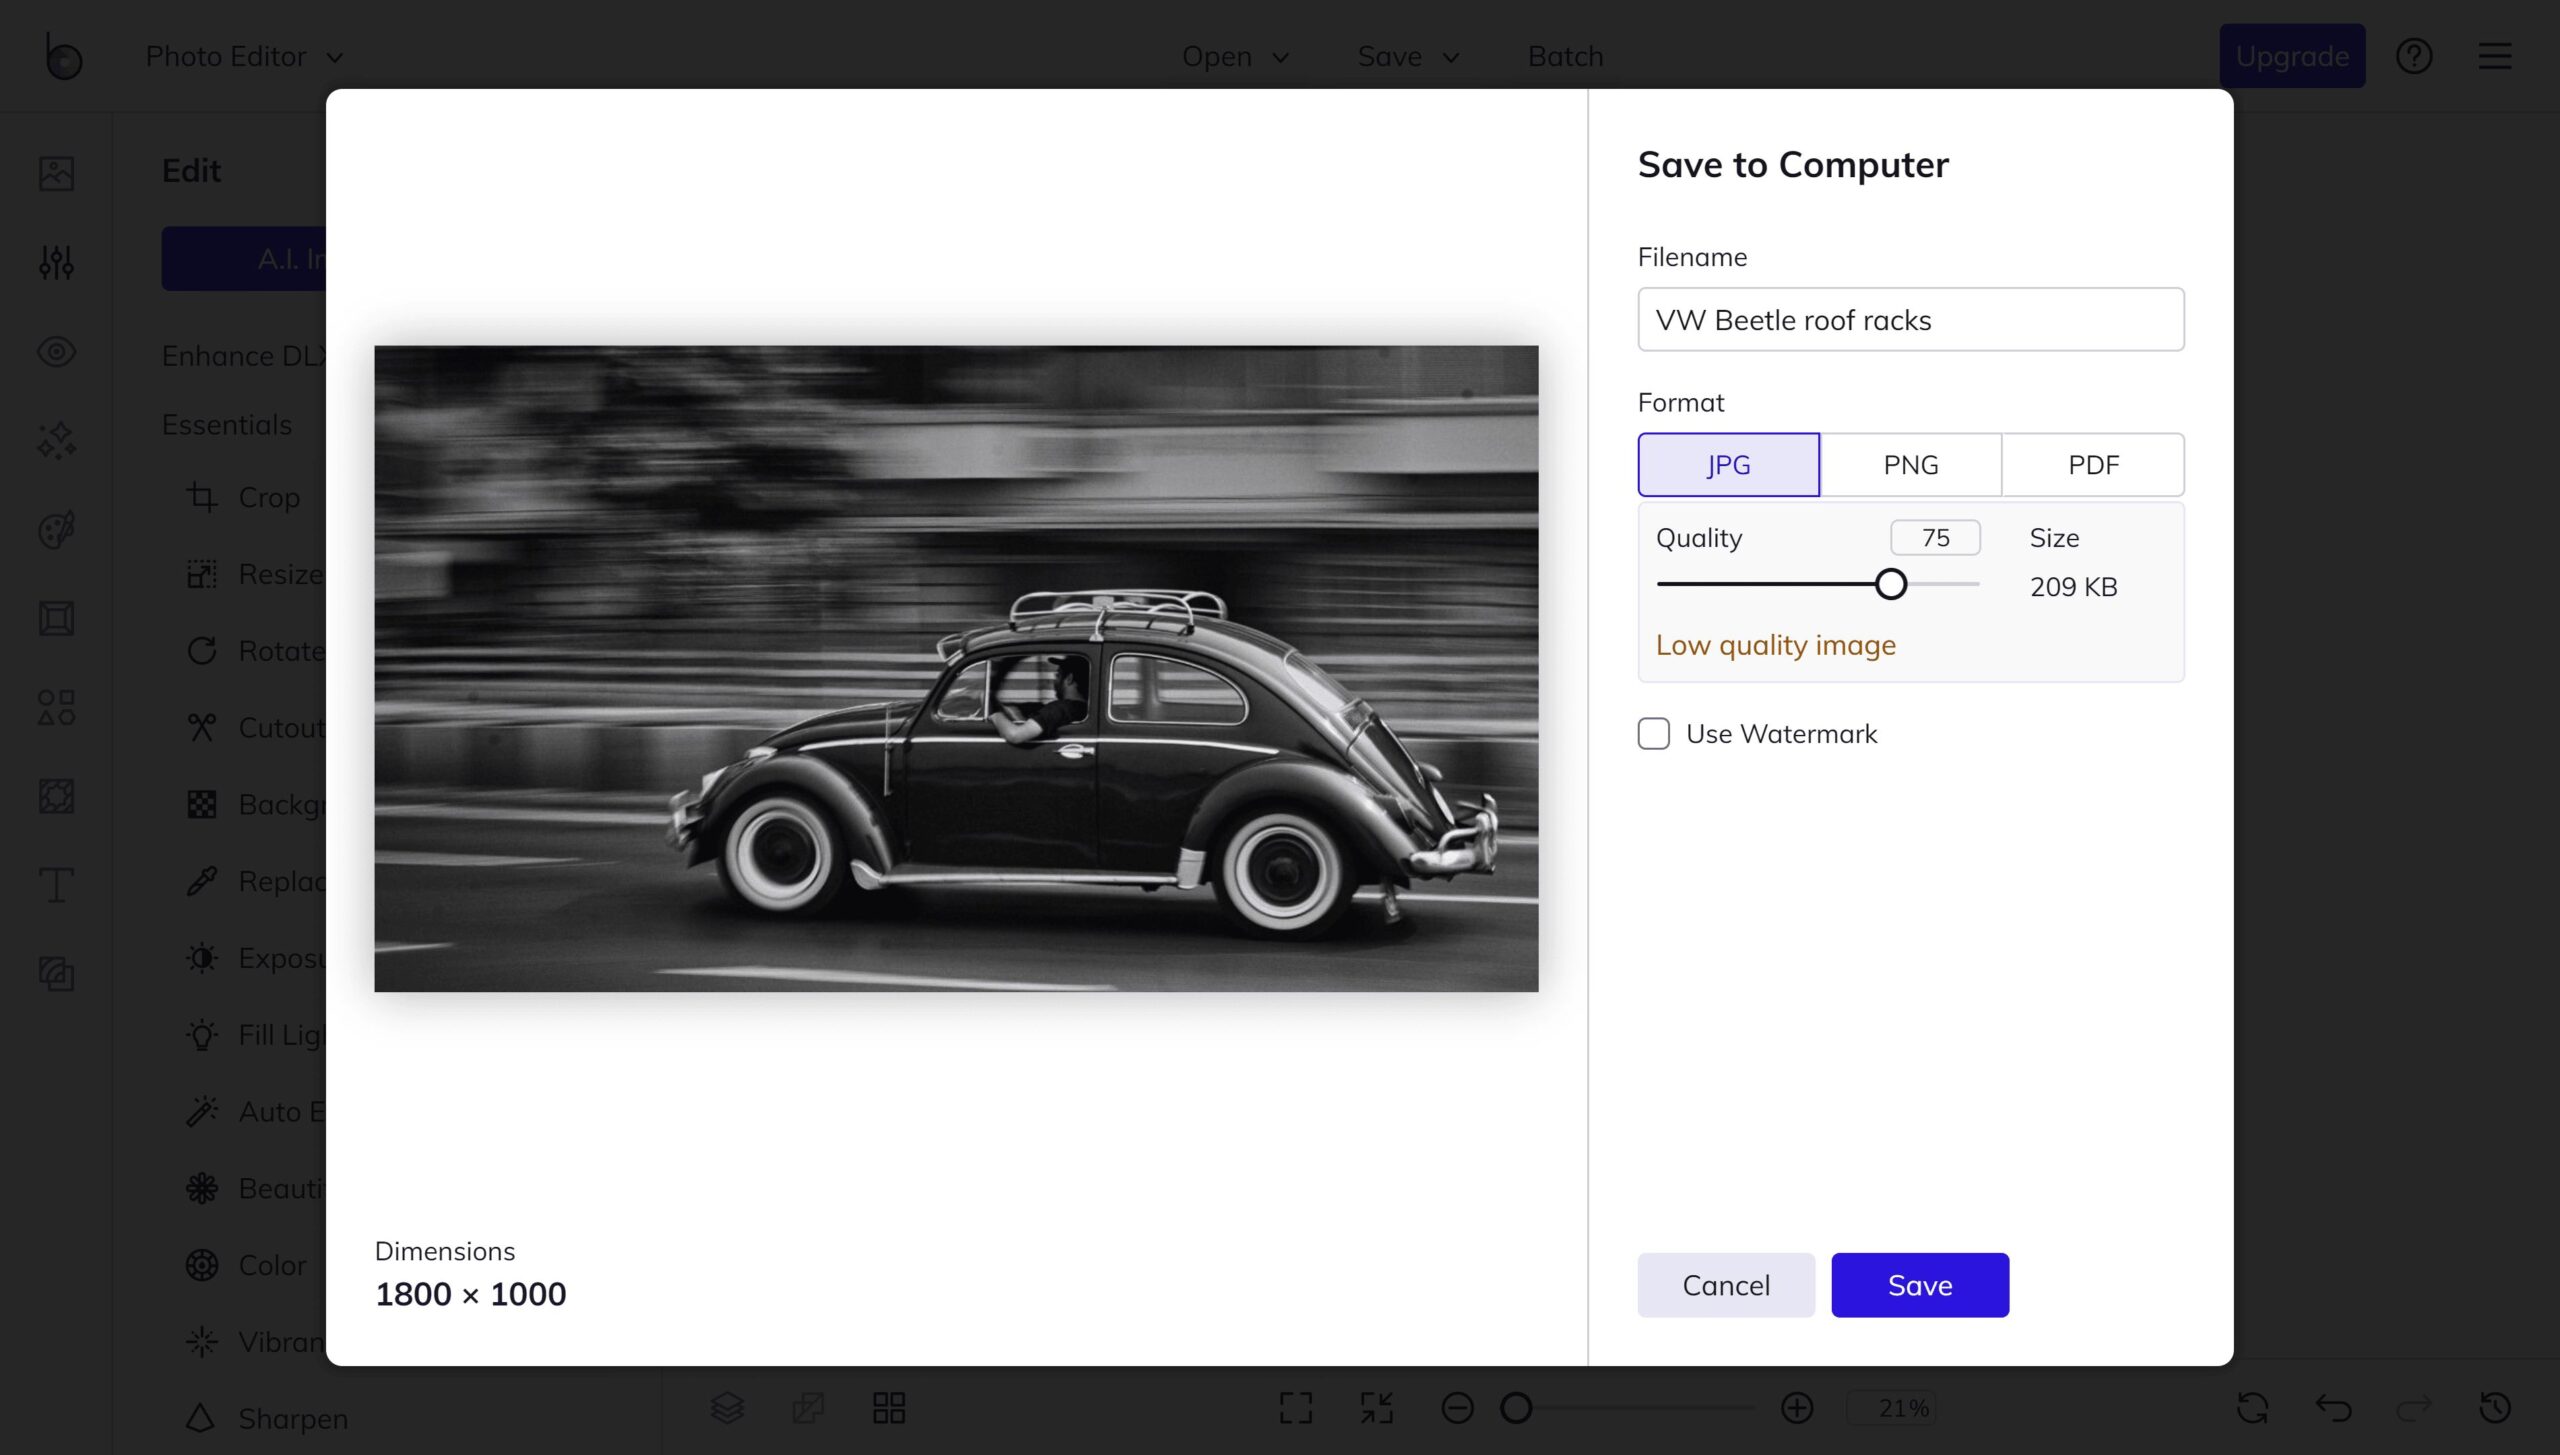
Also, when saving the file in a JPG format, you can choose the quality compression factor to compress the file and reduce its size. Normally you can reduce this to 75% without seeing a visible deterioration in image quality on computer screens. In the example above the file size has been reduced to 200KB. This is more than ten times smaller than the original image which was 2.12 MB. It will therefore load 10 times quicker!
If your photo-editing software supports different file types such as JPG, PNG and WebP, you can test various options to see which provides the smallest file size.
Load the image into WordPress
Now that you have prepared your image, you are ready to load it into WordPress.
In some cases, images are loaded into the Media Library first and are added to posts later. The most common scenario that we have used in the example below is adding photos to a post as it is being prepared in WordPress.
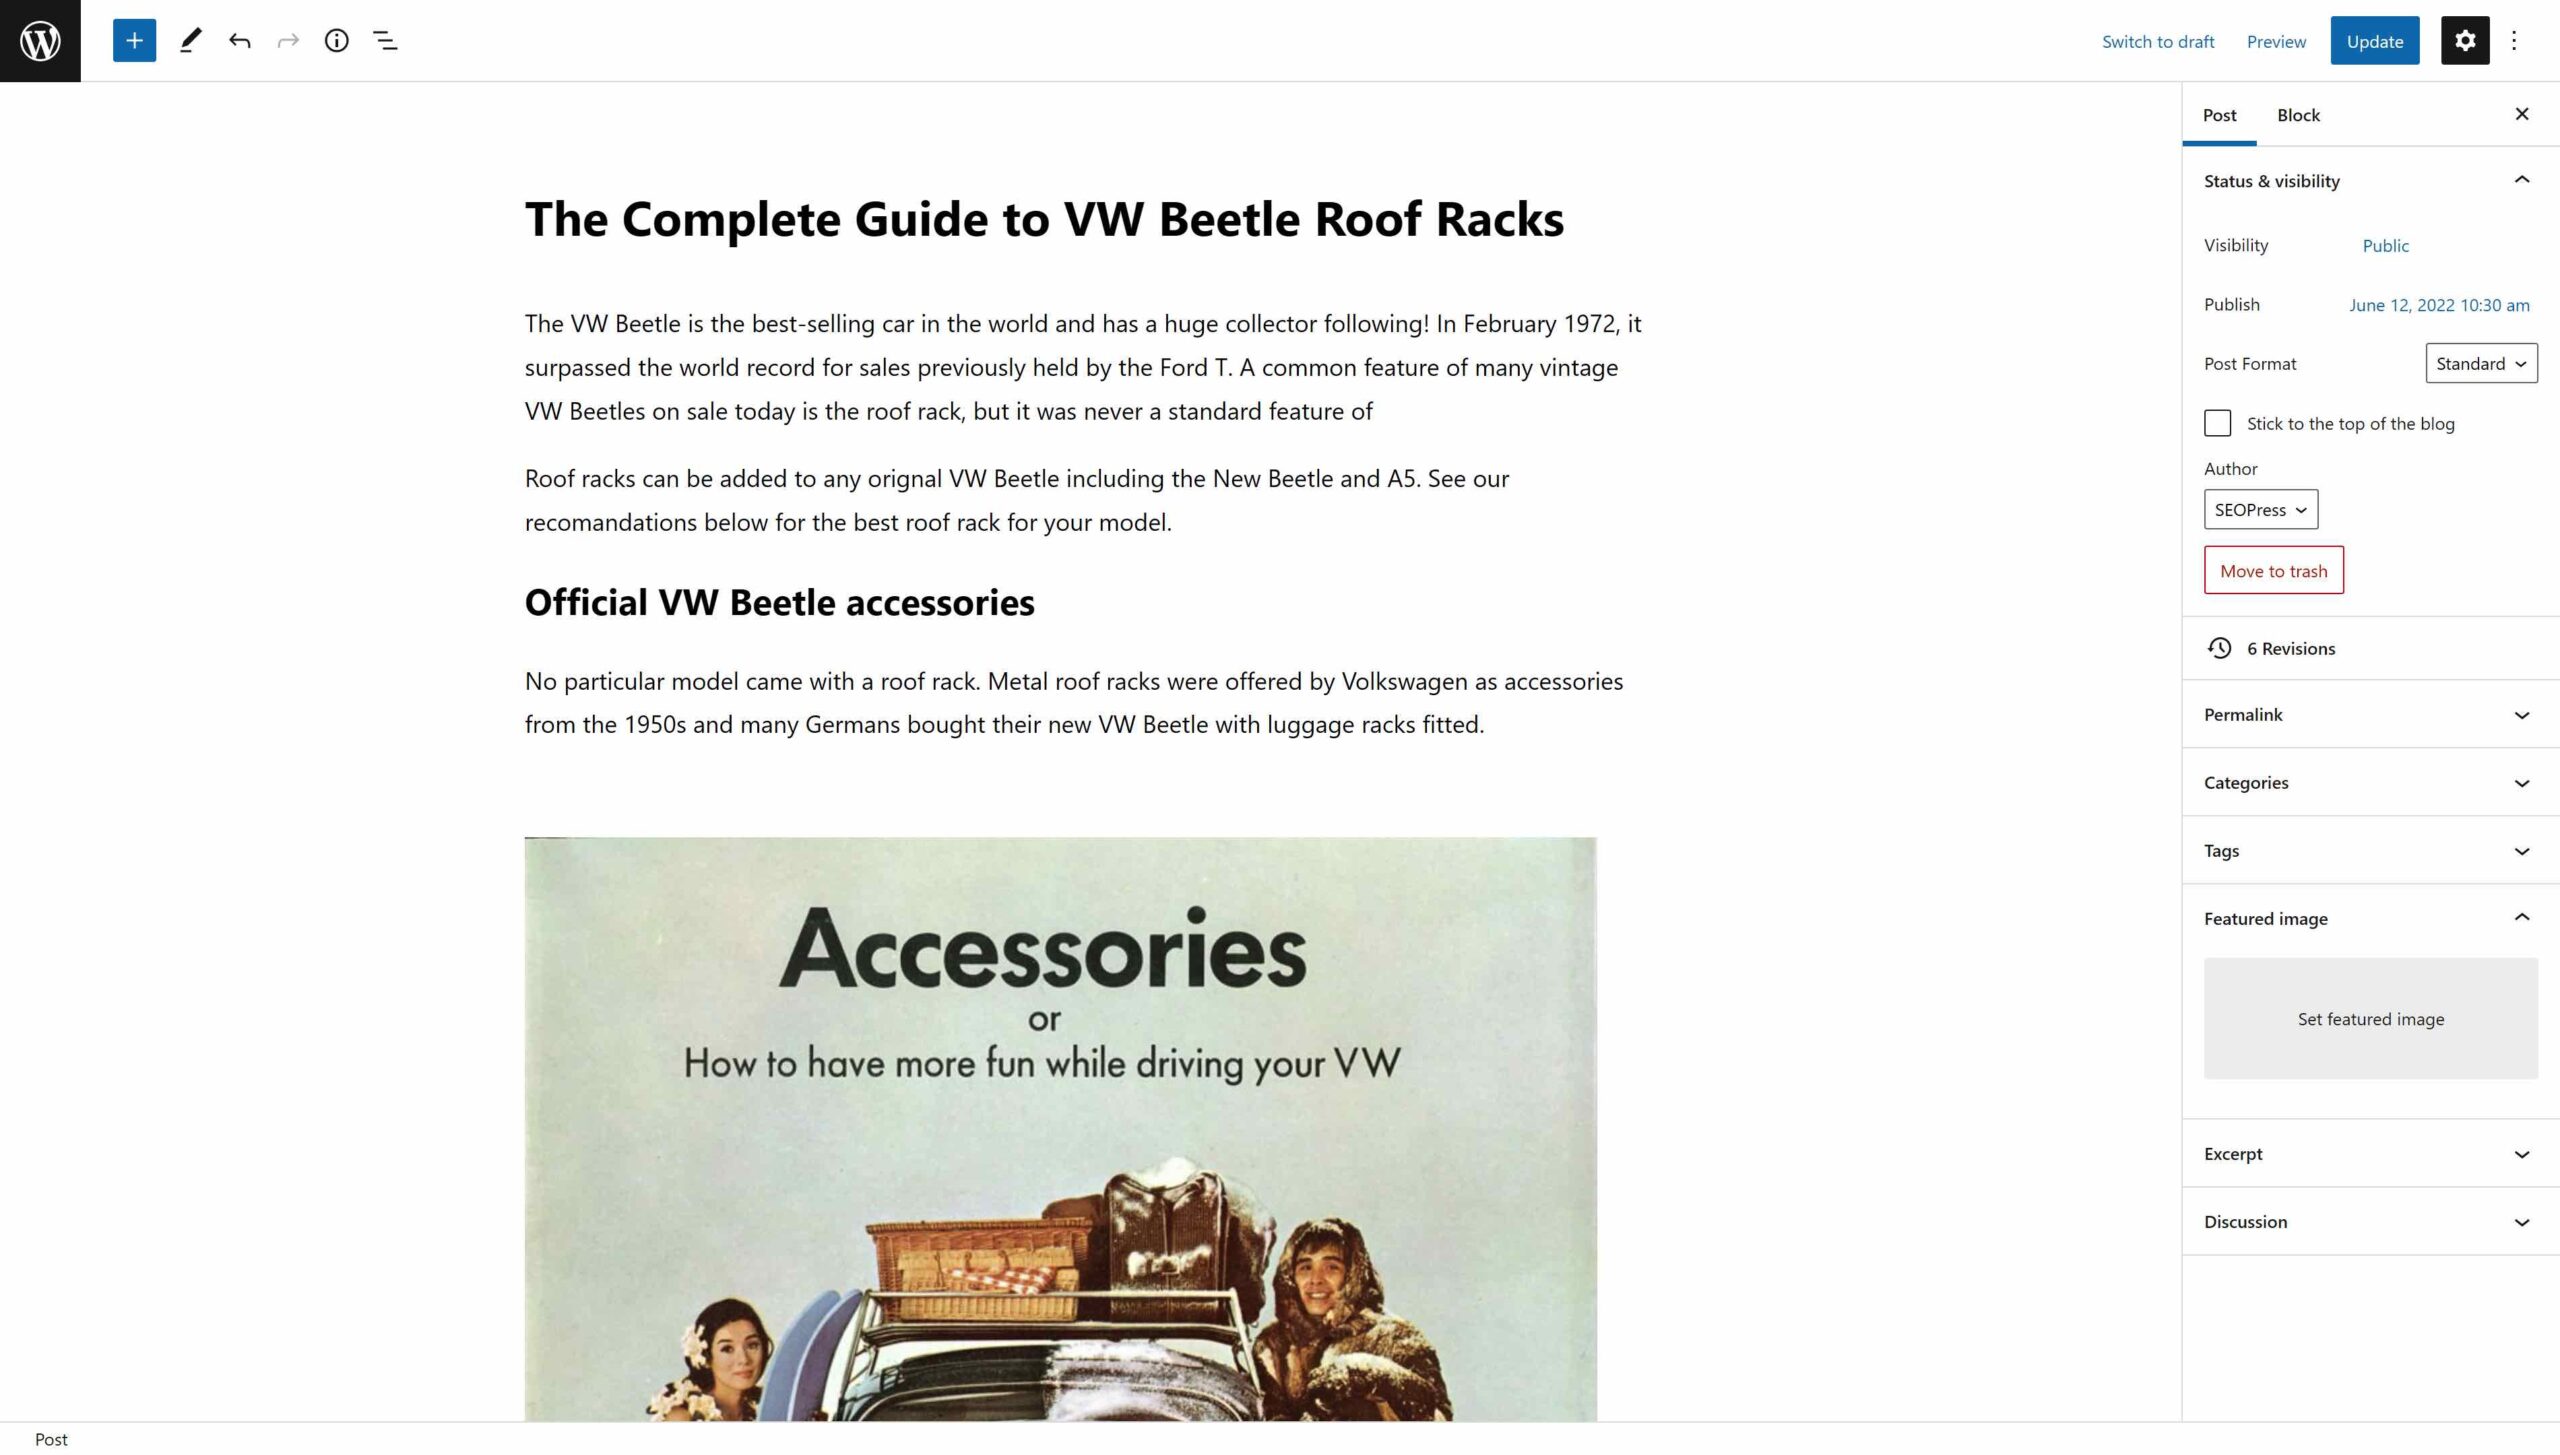
In this example, we have added the image as the featured image of a post. This is the best option for highlighting an image as the most important image for SEO and therefore for the keyword that page is targeting. When Google shows a thumbnail image for a WordPress post in search results, it is very often uses the featured image.

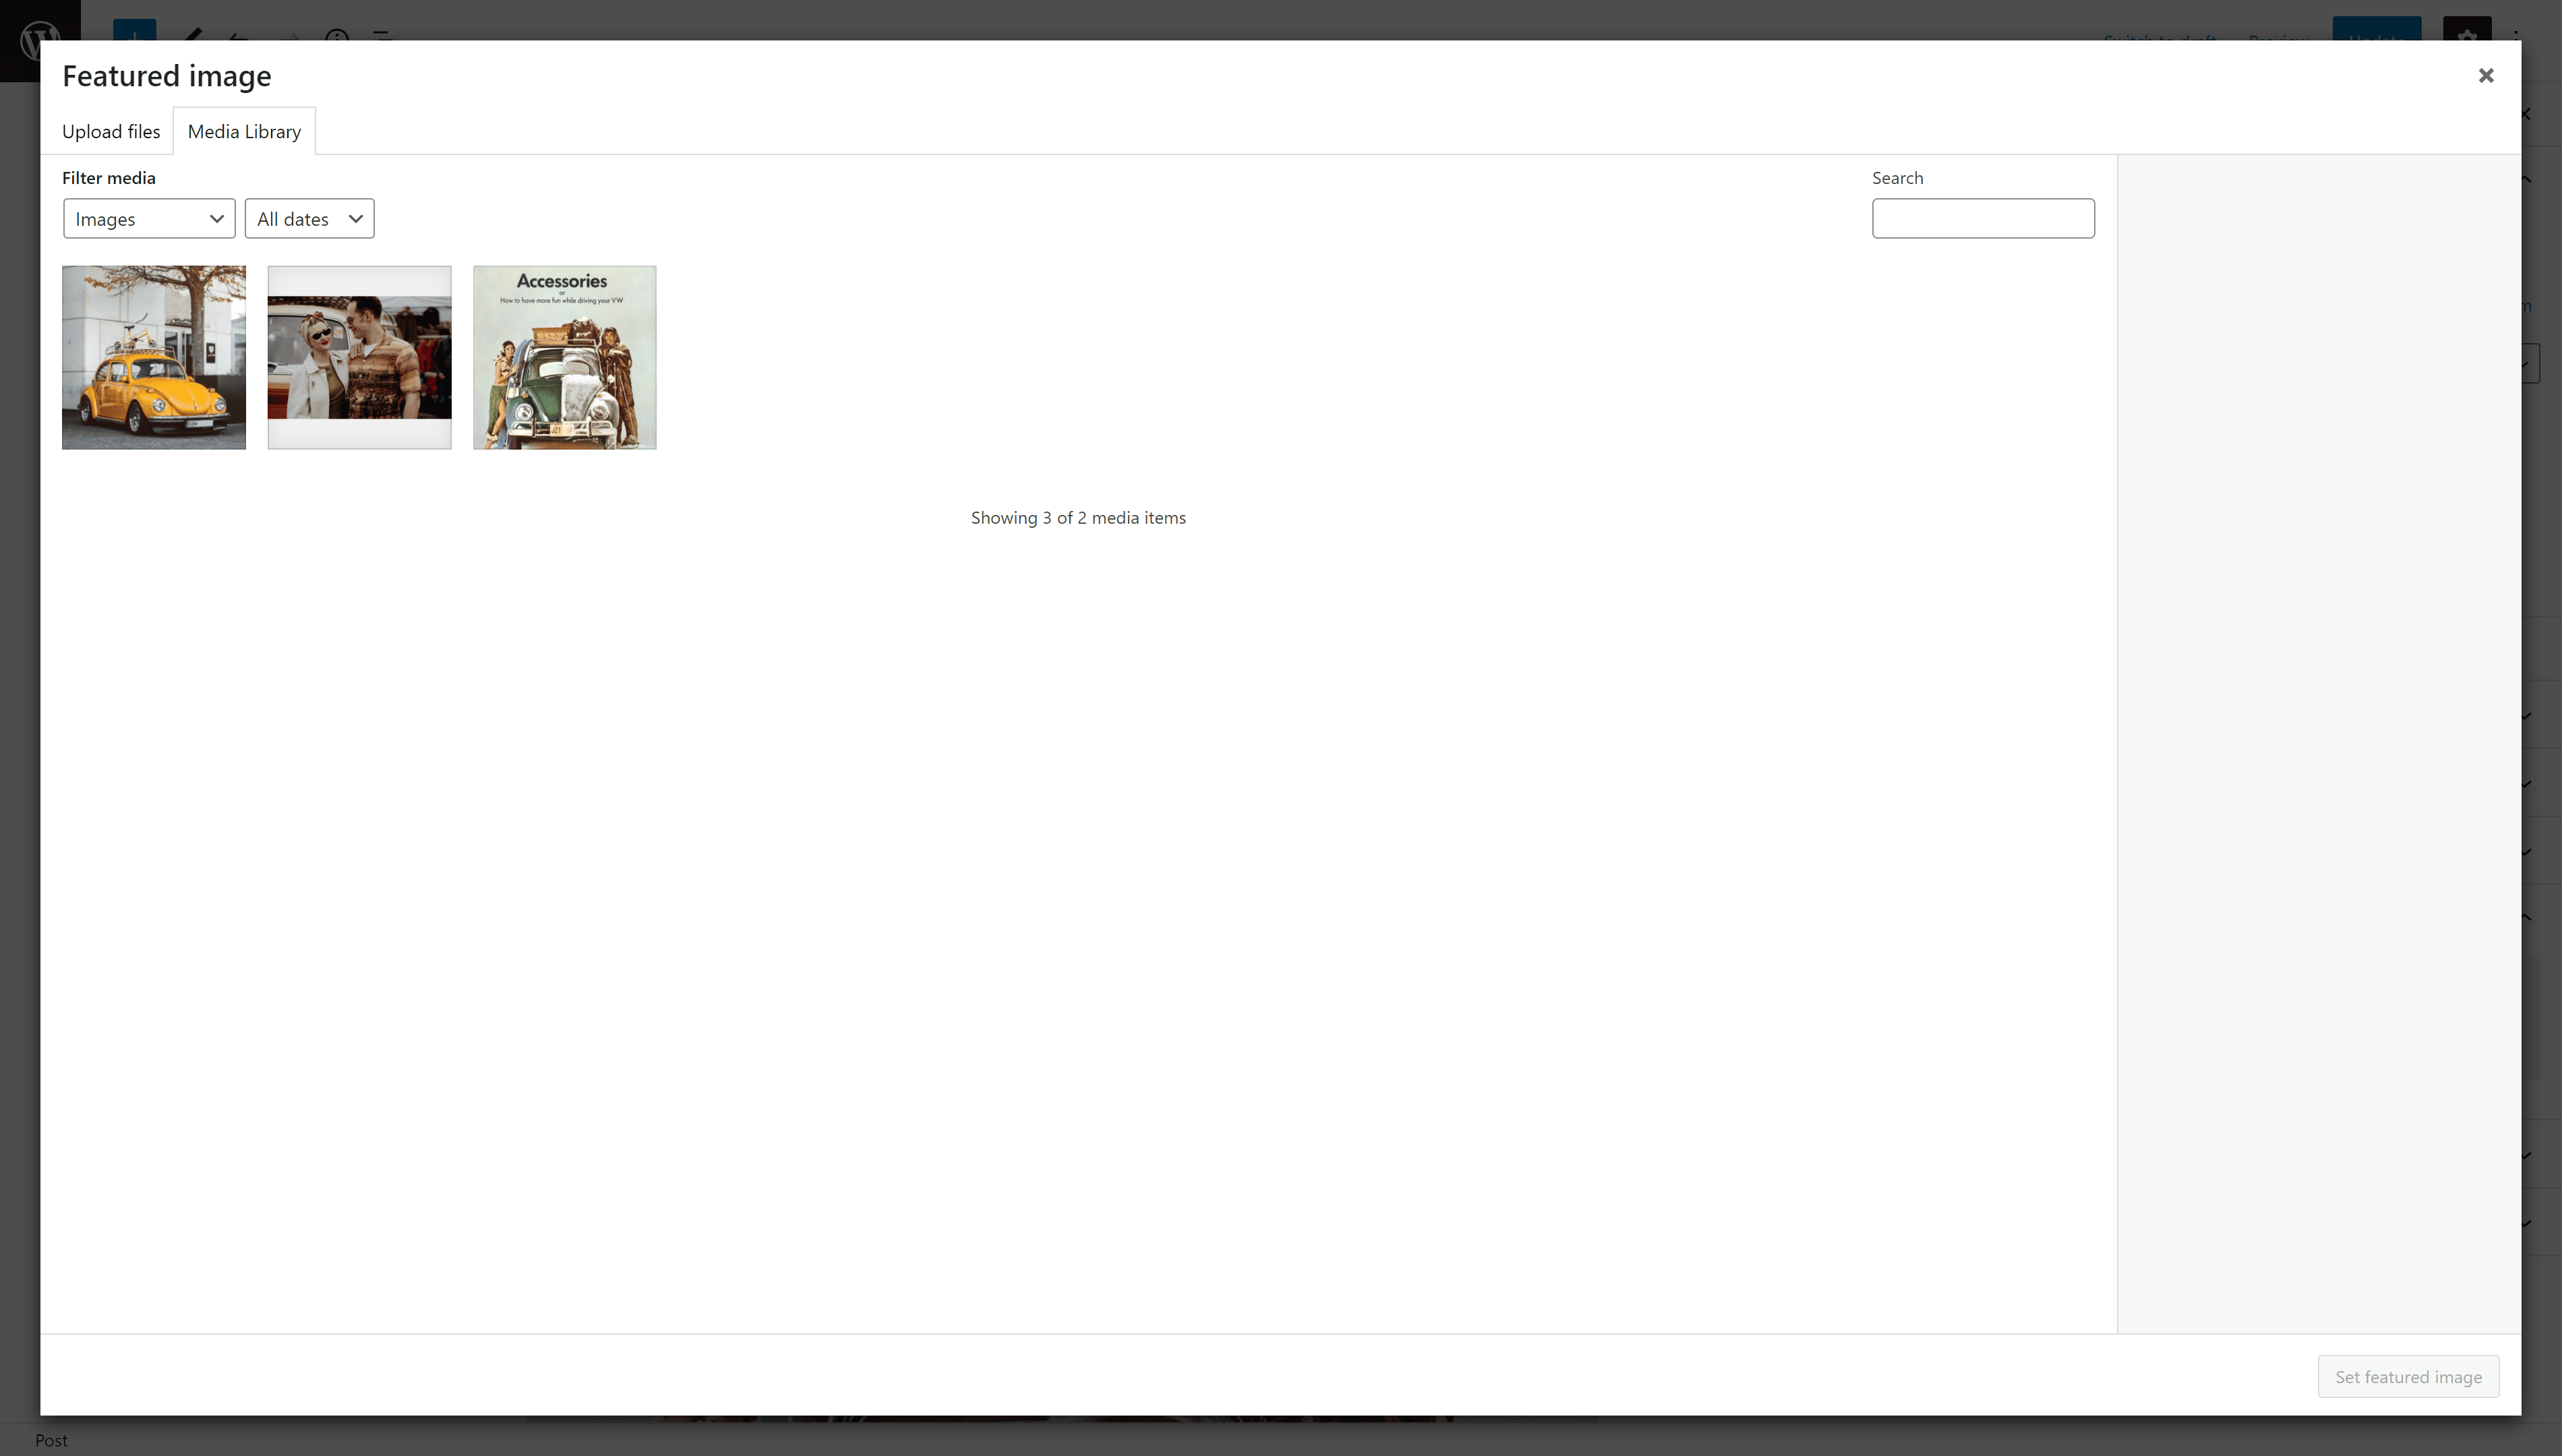
From the post editor, we can add a Featured image by clicking on Set featured image in the sidebar. This opens the Media Library where we can select “VW Beetle roof racks.jpg” from our computer and load it into the Media Library.
The image is saved to the web server using the filename uploaded. It cannot be changed. This is why it was important to prepare the file with an optimized filename earlier.
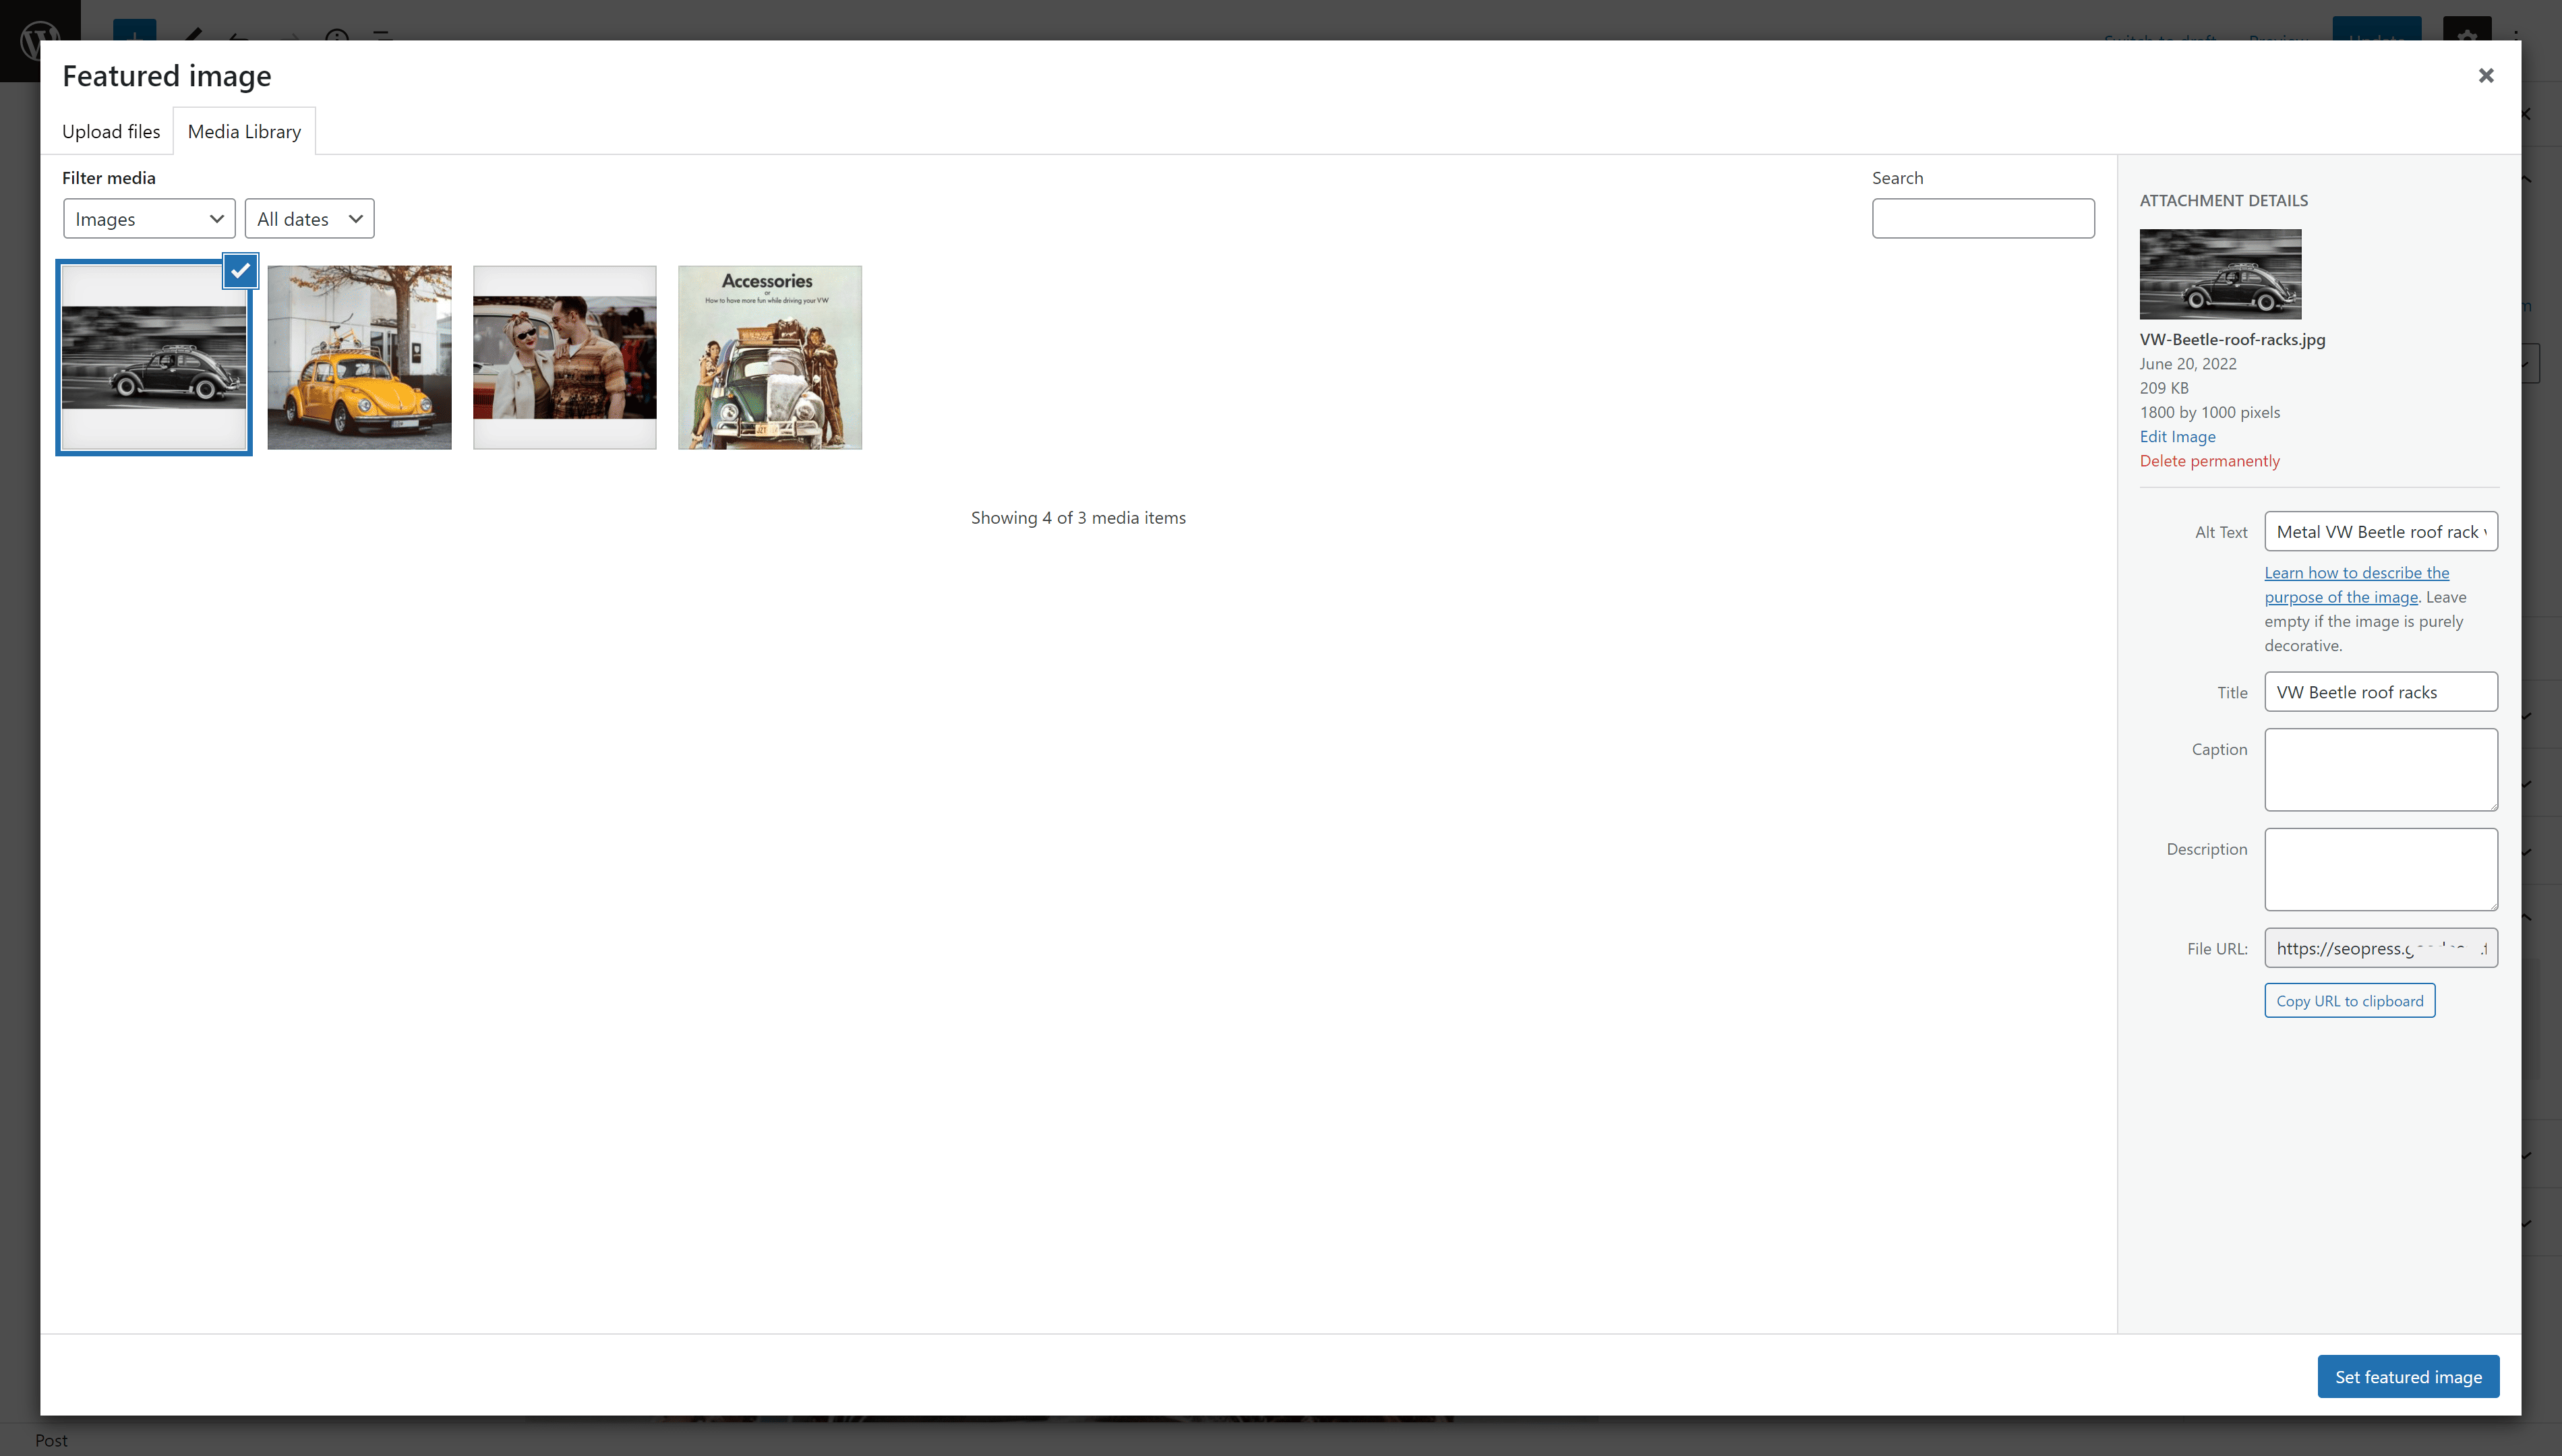
Once the image is loaded, you will see that WordPress proposes 4 text fields to describe the image. Title is automatically set using your filename. Alt Text, Caption and Description are left blank.

The ALT text is the most important field for SEO, and you should always write a short sentence here to describe your image. If you want the image to be associated with a keyword, use the keyword in the ALT text. In the example below, we have typed “Metal VW Beetle roof rack viewed from the side”. In a later chapter we will look at some more tips on writing ALT text.
There may be cases where you cannot use the featured image. In this case you should add the image to the content of the post – as high up in the page as you can. Once the image is loaded, you can click on it in the editor to edit the ALT text.
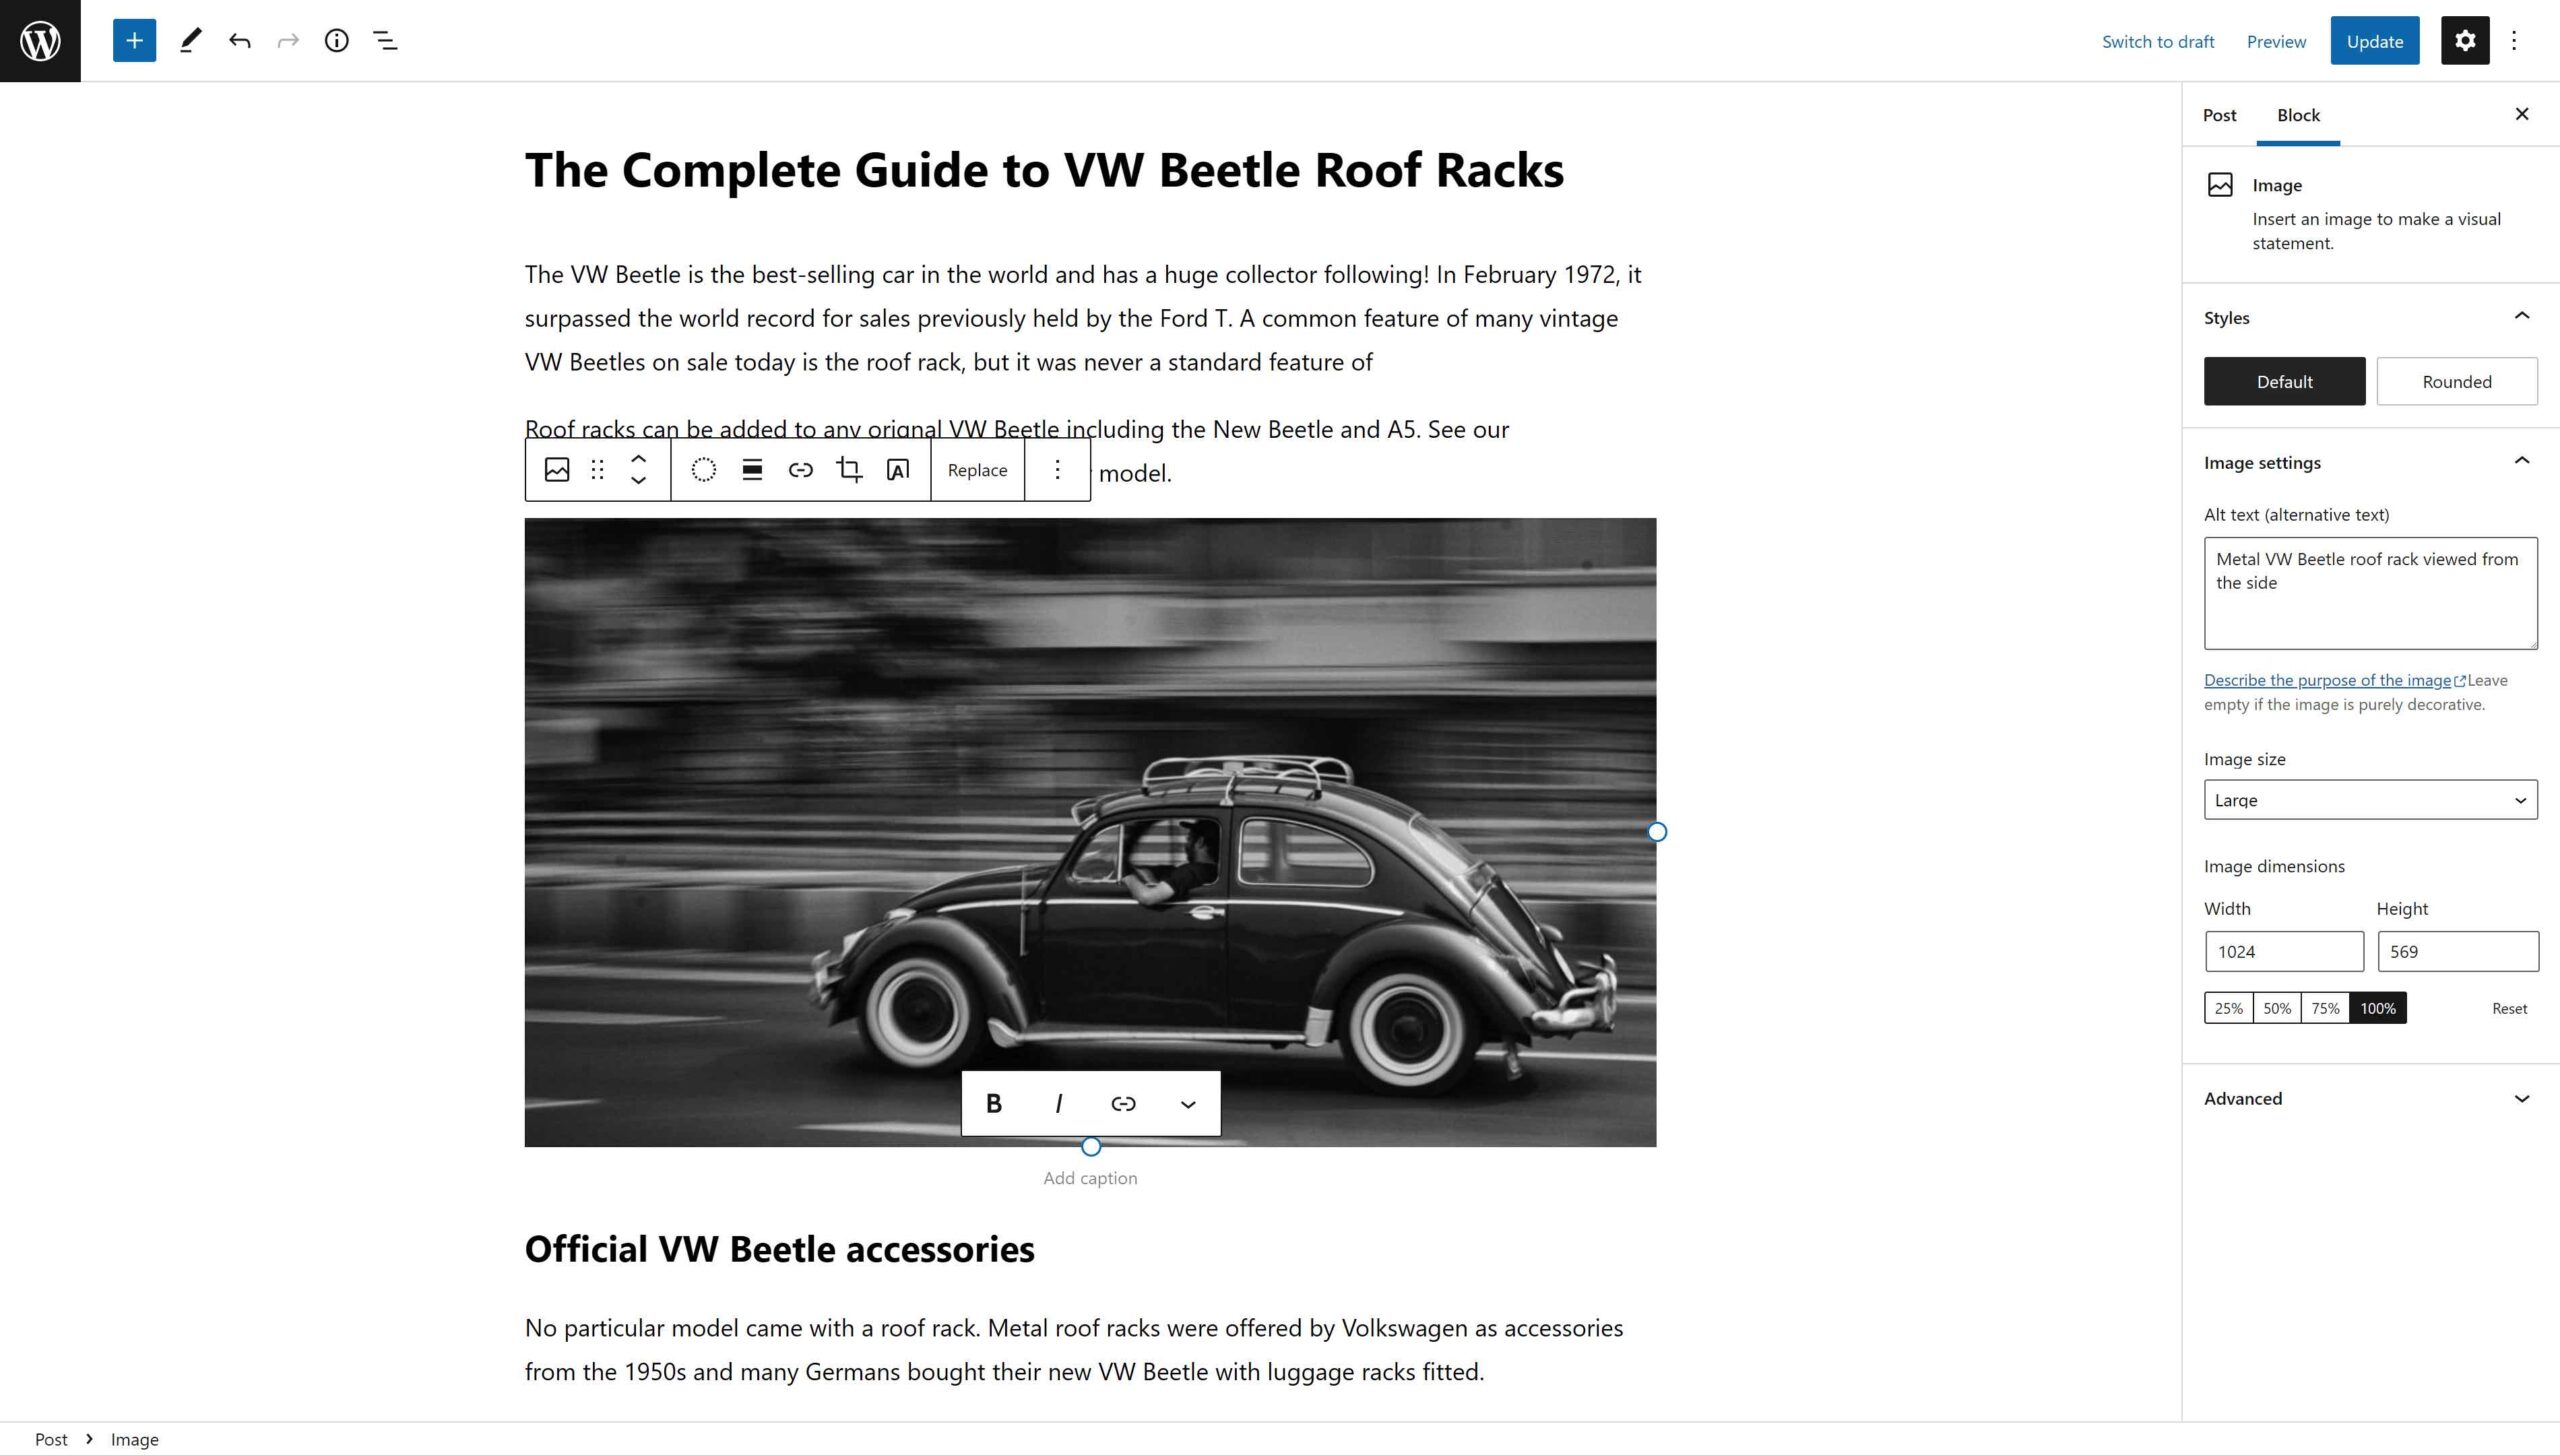
Note that you can select different image sizes for the image too. Full Size is the image in the dimensions you uploaded. Thumbnail, Medium and Large image sizes correspond to settings found in the Settings > Media menu in WordPress. By choosing “Large” you can improve load times by forcing WordPress to load a smaller version of your image, but Google will still be able to find and index the full-size image.

Deactivate WordPress media attachment pages
WordPress has a default feature where any file loaded into the media library obtains a dedicated page on your website. When an image is used in a blog post, it can be made clickable and the link leads to the media page. Text can be added to this page using the Title and Description fields associated to the image in the Media Library. Some themes add these links by default.
There are cases where this may be useful, but generally it is recommended that you disable these pages to optimize SEO. If this is not already done, you can do it now using SEOPress.
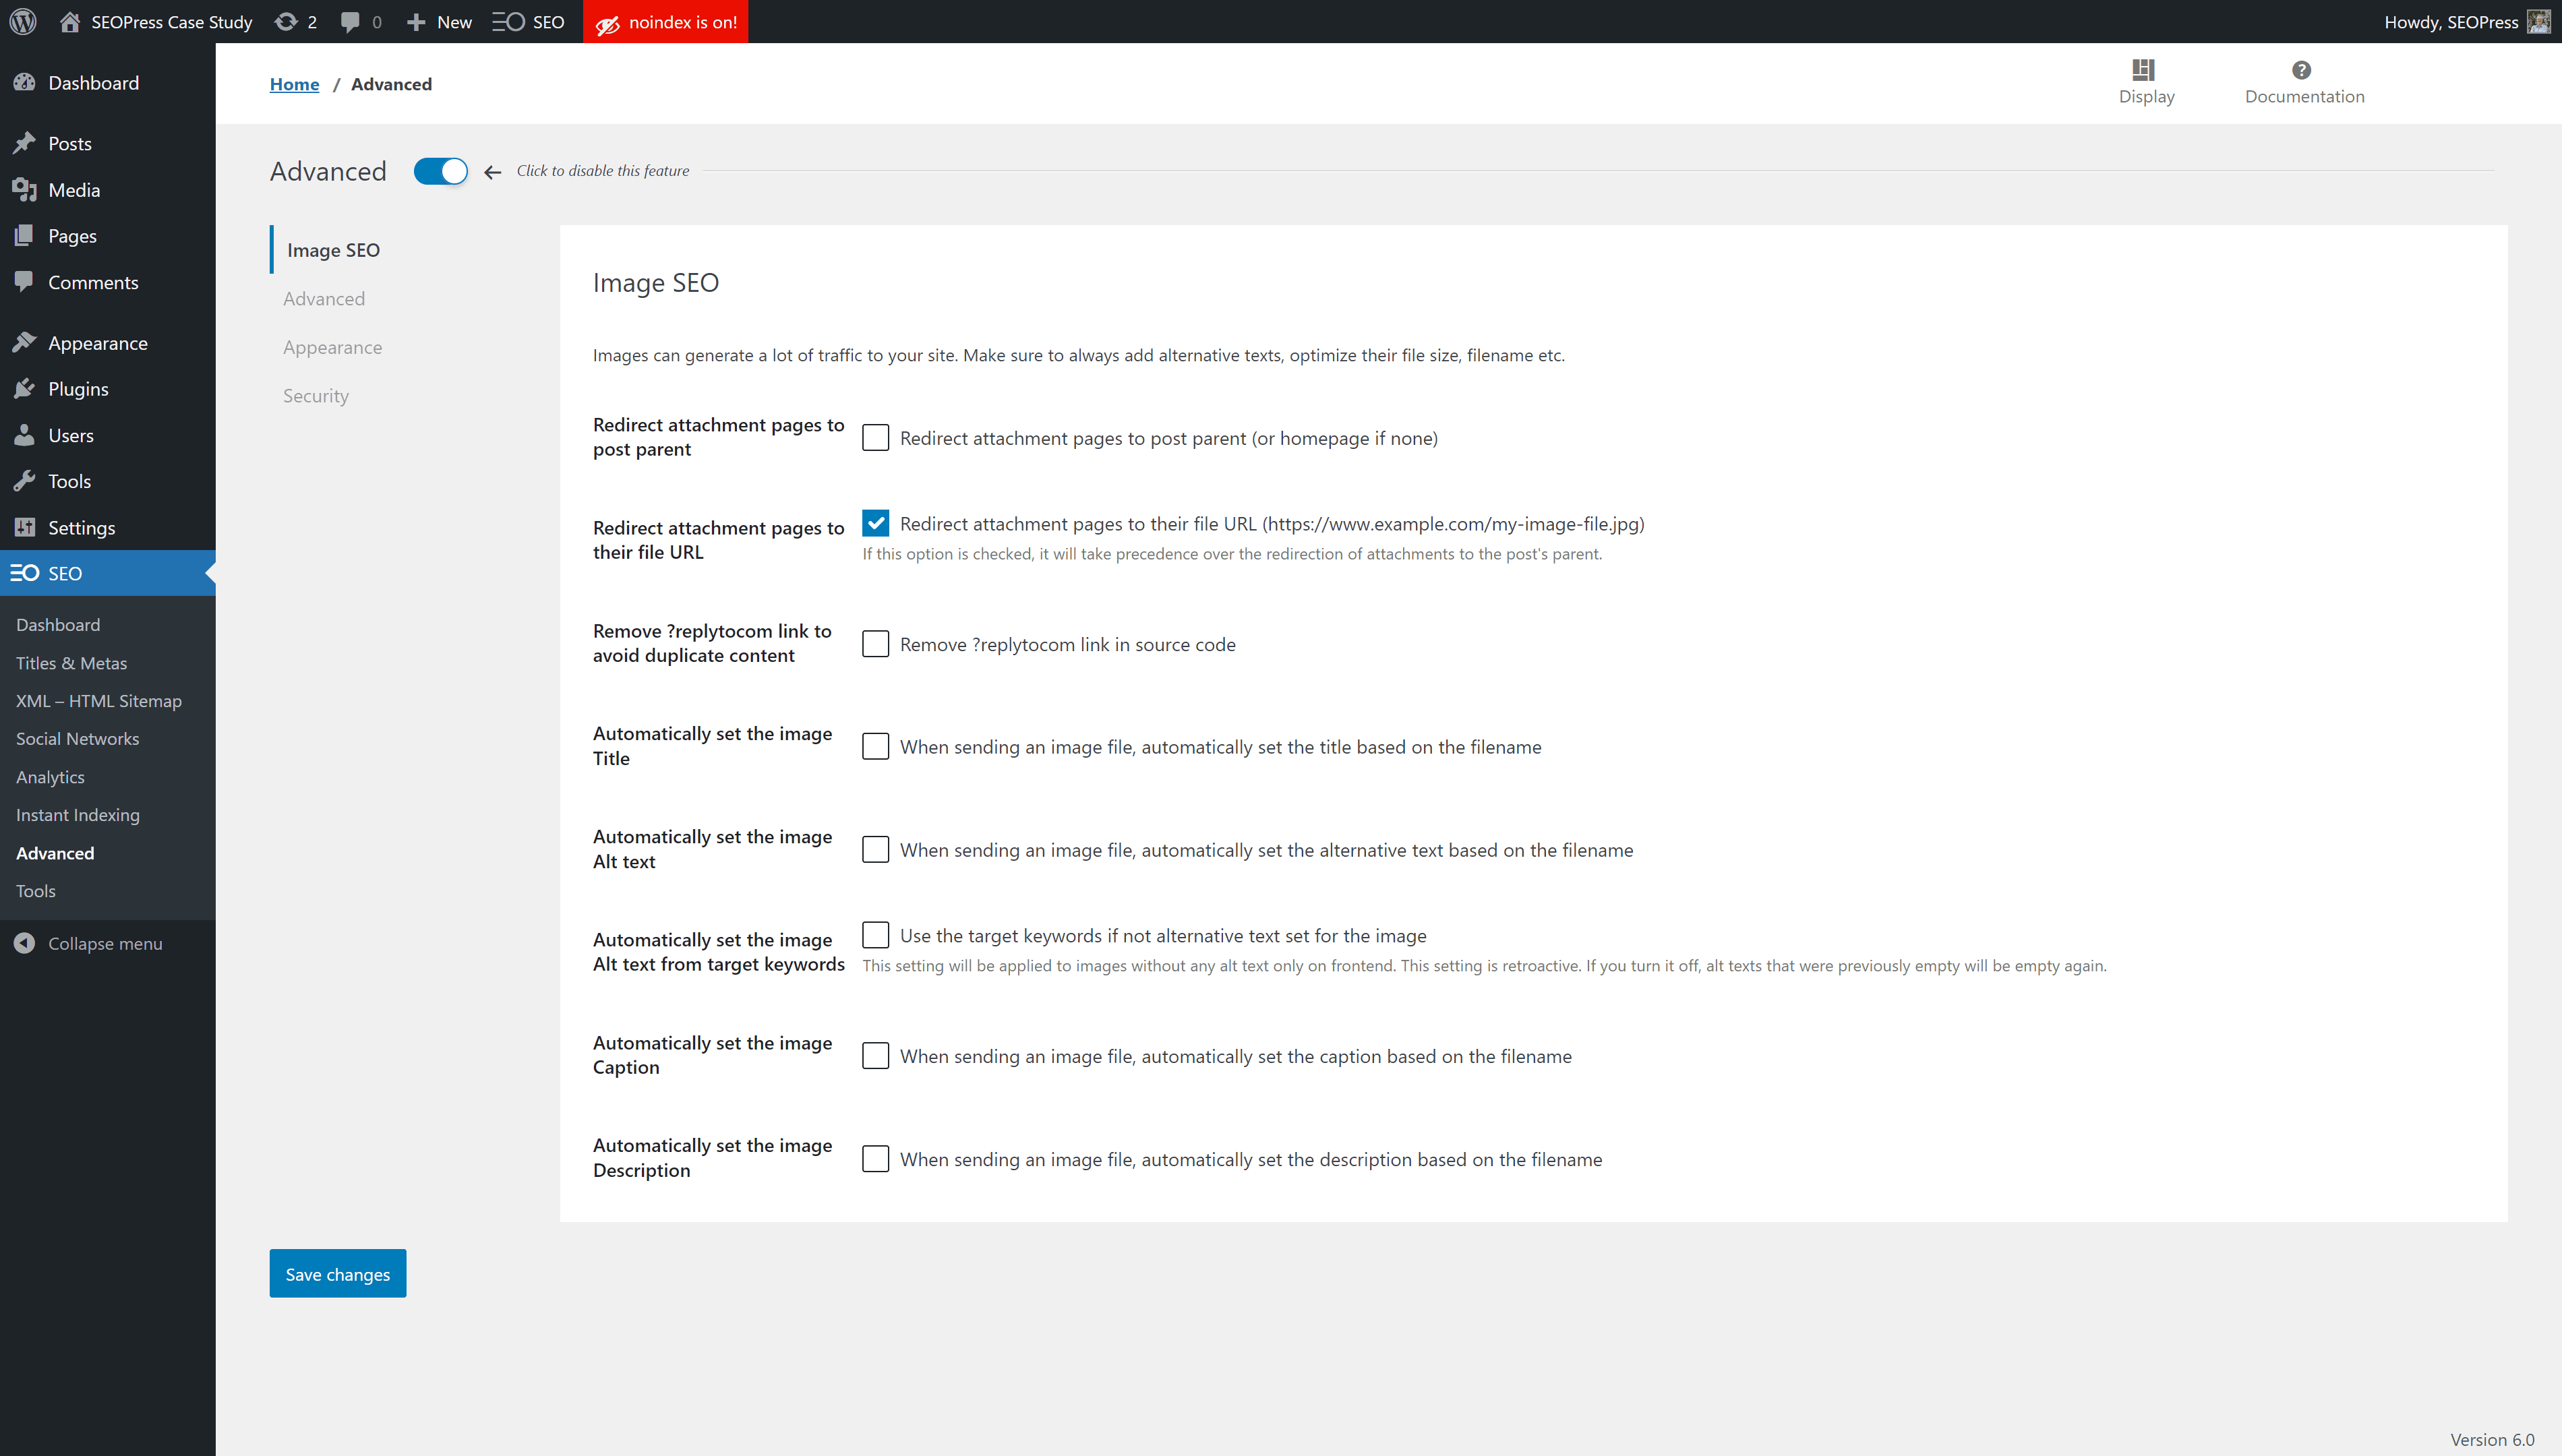
With SEOPress Free installed, you can deactivate media attachment pages using the SEO > Advanced > Image SEO screen. To deactivate the pages, you can check either the option “Redirect attachment pages to post parent” or “Redirect attachment pages to their file URL”.
More image SEO features in SEOPress
As you can see in the screen shot above, SEOPress also provides other Image SEO features. To help you save time, you can automatically set the text fields associated with images using the image’s filename, for example. Another option allows you to automatically use the targeted keywords if ALT text is empty. This doesn’t replace writing ALT text for each image as our recommendation, but this option is far better than leaving image ALT texts empty.
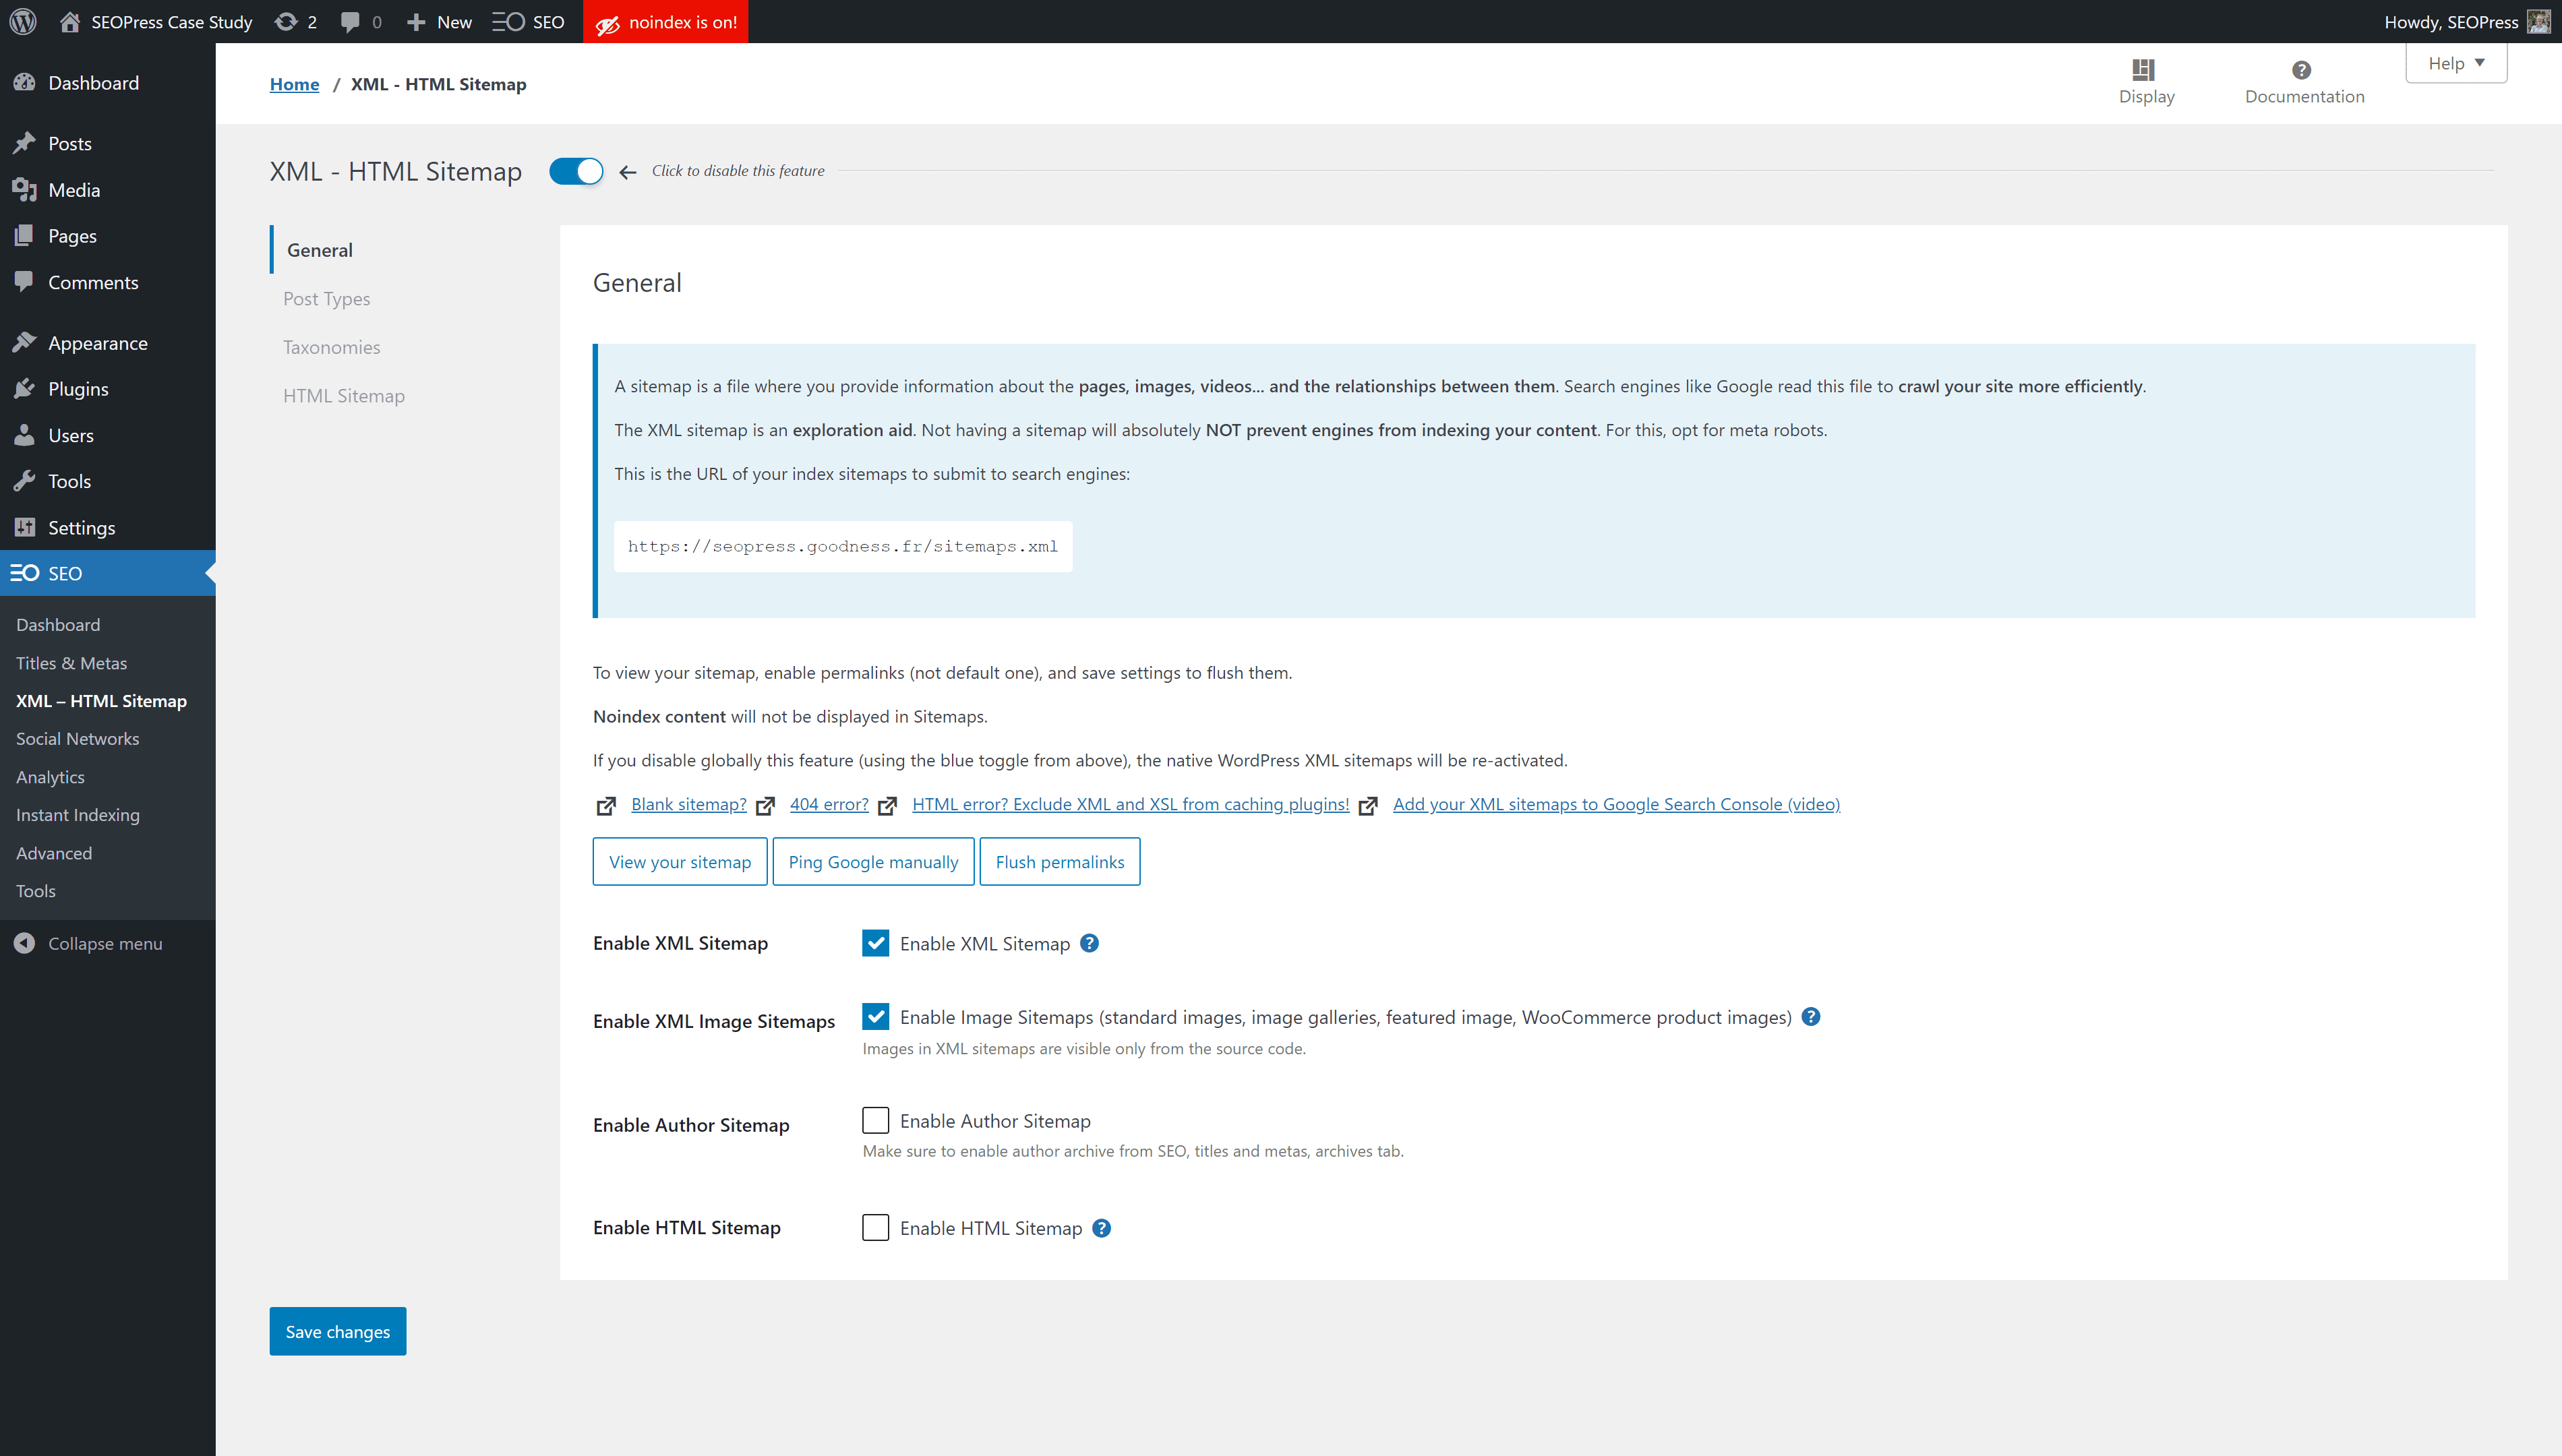
The other feature that is included in the SEOPress Free plugin and that is a big plus for image SEO is the XML image sitemap. Google recommends you provide this sitemap to help it find and index all the images used in website. To activate the image sitemap in WordPress go to SEO > XML > HTML Sitemap and check “Enable XML Image Sitemap” and Save changes.
Conclusion
Having renamed your image with your keyword, loaded it as a featured image in a post that contains your keyword, writing a great ALT text and using SEOPress Image SEO settings, you have successfully optimized an image for SEO. Well done! You should do this for every image you load into WordPress. You may need to go back over the images you have already loaded in the past to make sure they respect these best practices. Doing so will help rank each image in Google Image search and will also help improve the ranking of the pages they are used in.


